Workspace Profile Settings
Your workspace profile determines how your brand is presented on the Firstage platform. Manage everything from brand style to social media integration in one place.
Accessing Profile Settings
Step 1: Workspace Settings Menu
In your workspace dashboard’s left sidebar, click the “⚙️ Settings” icon and select Workspace.
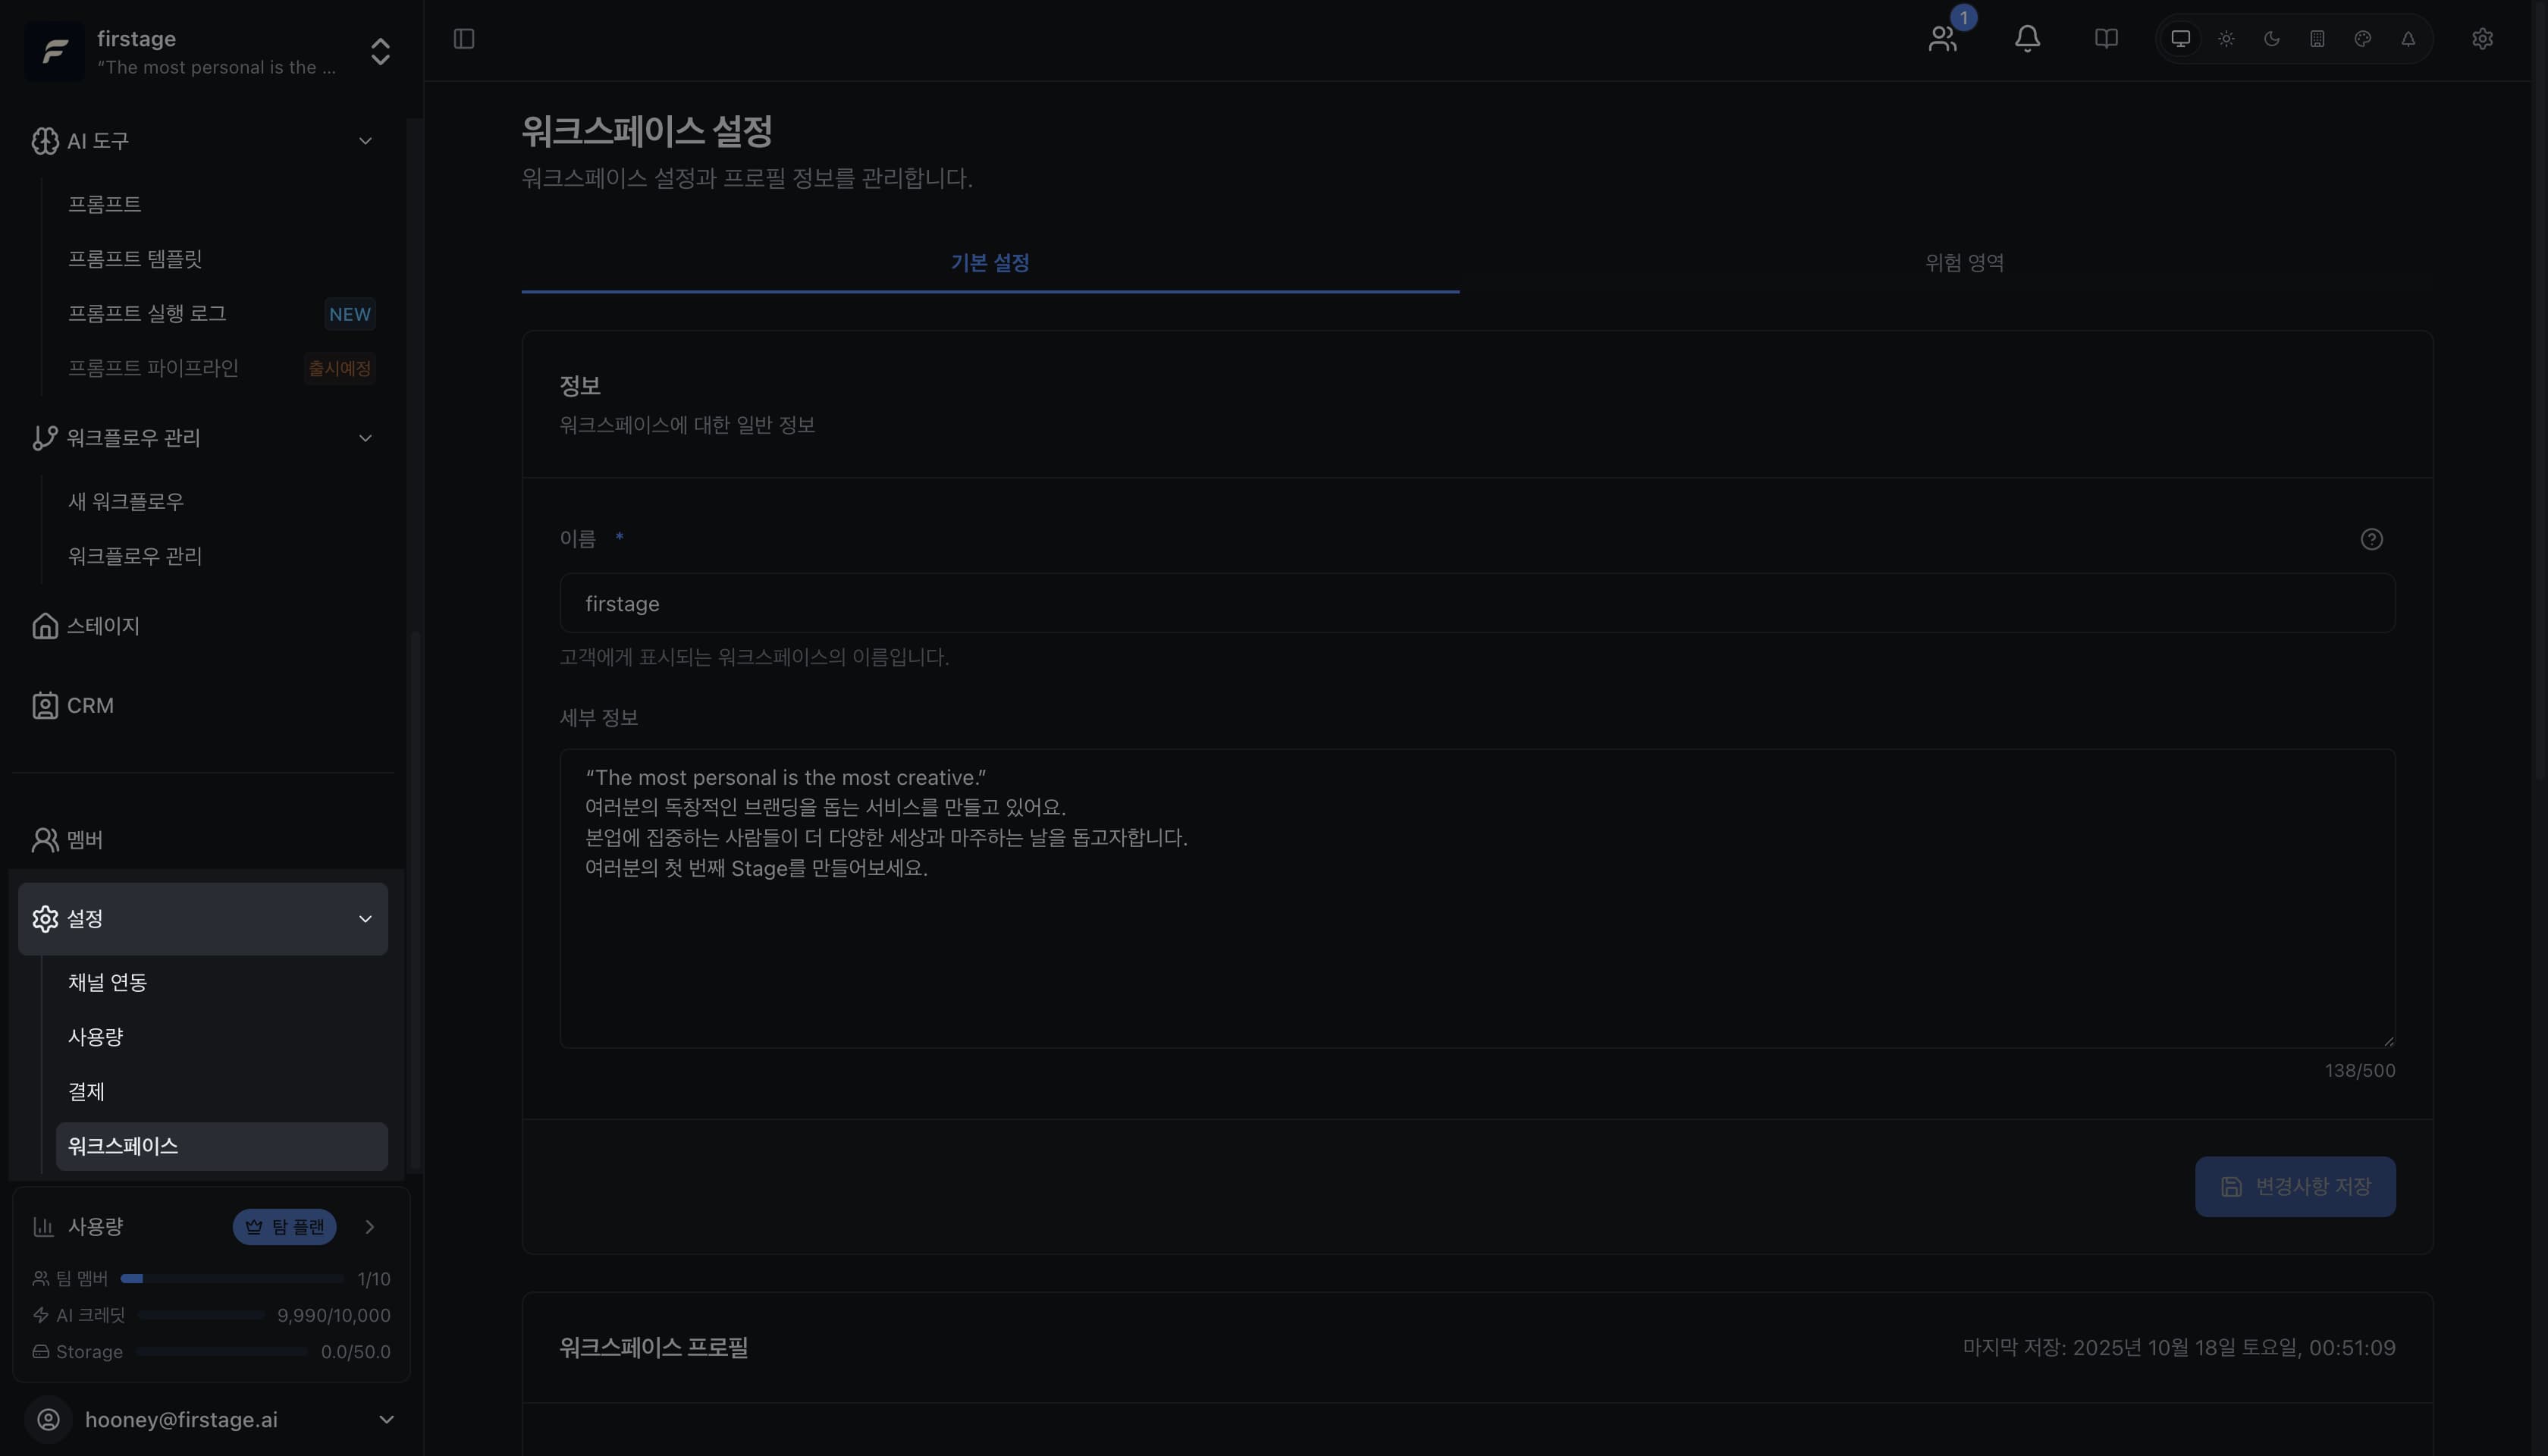
Step 2: Edit Workspace Basic Information
You can modify the basic information (name, description, timezone) you entered when creating the workspace at any time.
Editable Fields:
-
Workspace Name: Change the name displayed to your team or customers.
- Example: “Firstage Marketing Team” → “2025 Global Marketing Campaign”
- Maximum 30 characters
-
Description: Update the purpose or role of your workspace.
- Workspace details are used as workspace context when creating AI content.
- Example: “Social media content creation and management” → “Global content creation for Korea/Japan markets”
- Maximum 500 characters
-
Timezone: Change the timezone that serves as the reference for scheduled content publishing, analytics reports, etc.
- Korea:
Asia/Seoul (KST, UTC+9) - Adjust if your company location changes or you operate across multiple countries.
- Korea:
Tip: Workspace details are crucial reference information for AI to understand your brand and values. The clearer and more meaningful you make it, the more accurate content AI will generate.
Example: “K-Beauty creator, creating content to introduce Korean products to global markets”

Click the “Save” button after making changes to apply them immediately.
Step 3: Workspace Profile Configuration
Scroll down in the settings menu to find the workspace profile section.
The workspace profile consists of 4 tabs used to represent your workspace profile.
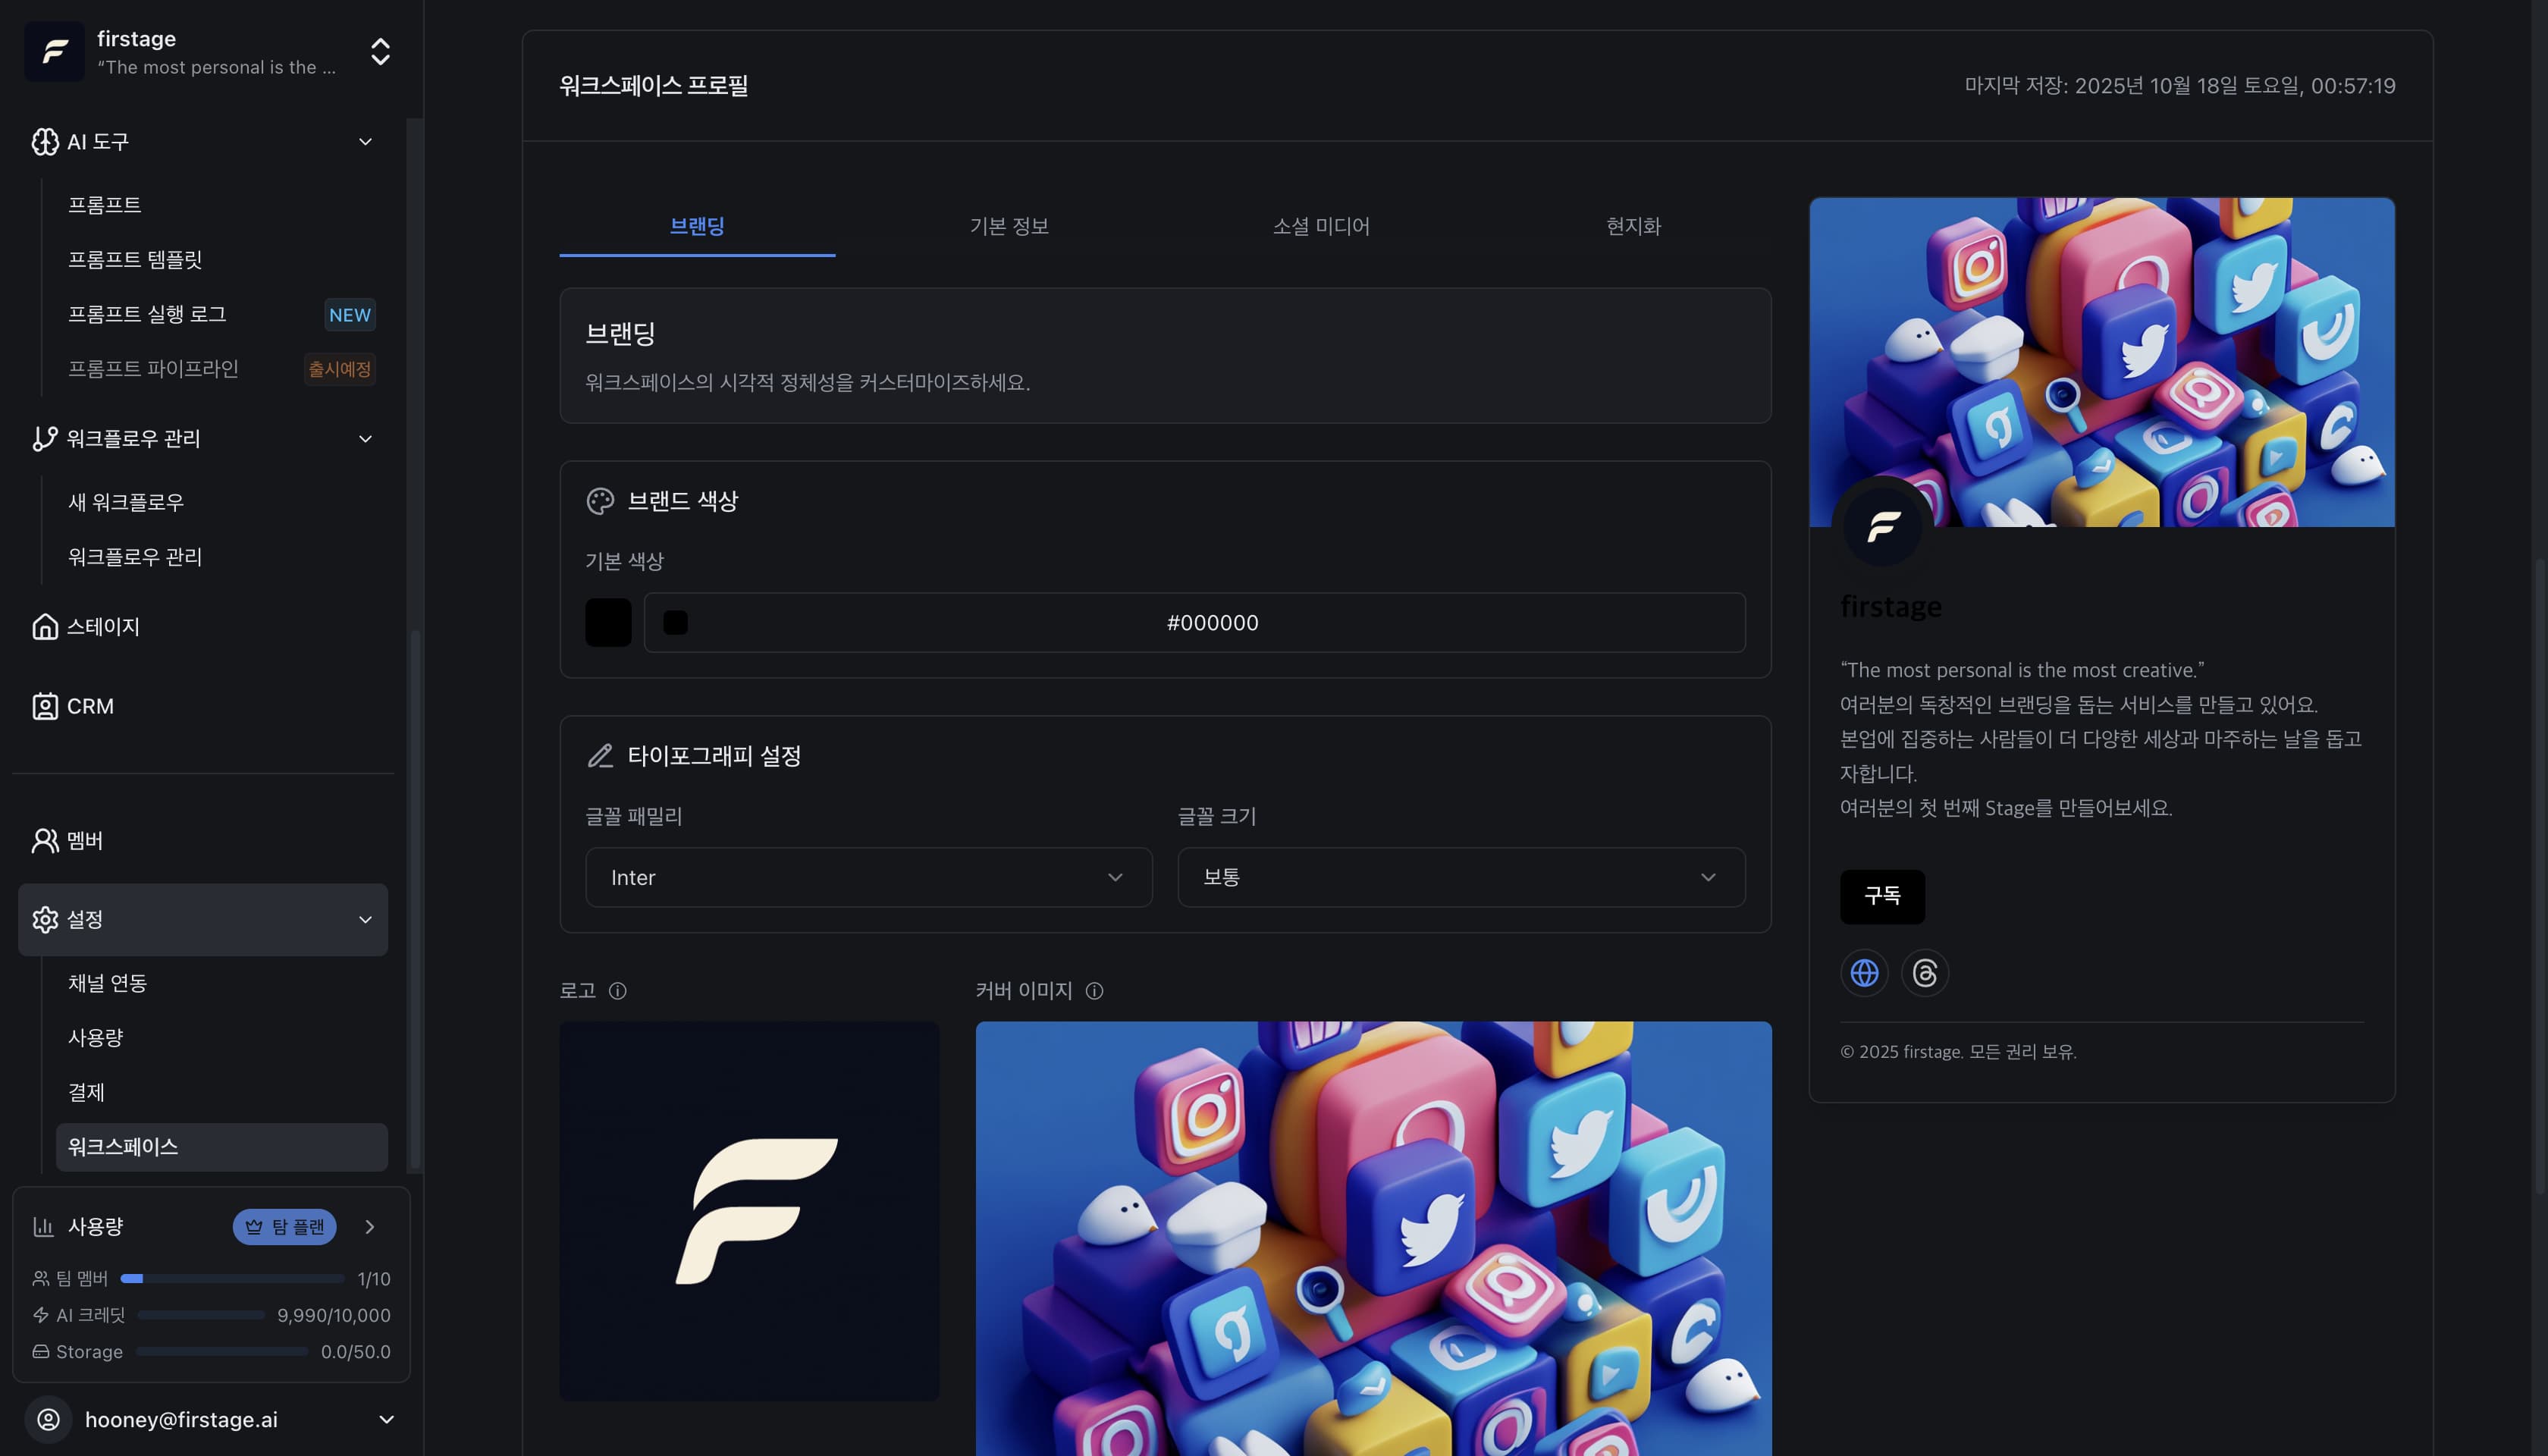
Tip: Check the real-time preview in the right panel of the profile edit screen. When changing brand colors, logos, or cover images, you can see the final result immediately as it’s reflected in real-time.
Detailed Settings by Profile Tab
The profile consists of 4 tabs. Enter the necessary information in each tab.
Branding Tab - Define Brand Style
The most important tab for defining your brand’s visual identity.
Your colors, logo, etc. become meaningful elements that represent your brand.
Step 1: Set Brand Colors
Select your Primary Color (brand color). This color is used for all buttons, links, and emphasis elements in your Stage profile.
- Click directly in the color picker or
- Enter a hexadecimal color code. (Example: #FF5733)
- Check the color change in real-time in the preview.
Step 2: Set Font Styles (Coming Soon)
Font Family (typeface):
- Select the default typeface to use in your Stage profile.
- Available fonts: Multiple web fonts supported
Font Size (text size):
- Adjust the base text size.
- Example: Select preset sizes like “Normal”, “Large”
Changes are immediately visible in the right preview panel.
Step 3: Set Logo and Images
Logo Upload (Optional):
- Upload your brand logo that visitors will see first.
- Supported formats: PNG, JPG, WebP
- Recommended size: 200x200px (square)
- Transparent background recommended
Cover Image Upload (Optional):
- Background image displayed at the top of your Stage profile.
- Supported formats: PNG, JPG, WebP
- Recommended size: 1200x400px (16:9 ratio)
- Express your brand personality with an eye-catching image.
Image Optimization: Optimizing images before uploading speeds up Stage profile loading. Using image optimization tools is recommended.
Basic Tab - Enter Basic Information
Enter basic information about your workspace.
Step 1: Enter Contact Information
Website (Website URL):
- Example: https://yoursite.com
- Only valid URL formats accepted
Contact Email (Representative contact email):
- Example: [email protected]
- Only valid email formats accepted
Phone Number (Representative phone number):
- Example: +82-10-1234-5678
- More professional when entered with country code.
Step 2: Enter Business Information
Address:
- Enter your company or business location.
- Example: “123 Teheran-ro, Gangnam-gu, Seoul”
Industry:
- Select the corresponding industry from the dropdown menu.
- Examples: Technology/IT, Marketing, Education, Consulting, etc.
Business Number:
- Enter your business registration number if applicable.
- Supports different numbering systems by country.
Social Tab - Social Media Integration
Enter your social media account links so brand profile visitors can easily follow you.
Step 1: Enter Social Media Links
The following platforms are supported:
- Facebook: facebook.com/yourprofile
- X (Twitter): x.com/yourprofile
- Instagram: instagram.com/yourprofile
- LinkedIn: linkedin.com/in/yourprofile
- YouTube: youtube.com/@yourchannel
- TikTok: tiktok.com/@yourprofile
- Threads: threads.net/@yourprofile
- GitHub: github.com/yourprofile
- Discord: discord.gg/invitecode
- Telegram: t.me/yourprofile
In each field:
- Enter the profile URL or username.
- If you enter one or more, social link buttons will appear on your Stage profile.
- Skip inputs you don’t want to display, and those platform buttons won’t appear.
Step 2: Validate Links
After entering, when you move tabs or click the Save button:
- The system automatically validates that entered URLs are valid formats.
- Error messages appear if there are issues.
Tip: You don’t need to enter all social media platforms. Selectively enter only the platforms you’re active on. Visitors will only see the links you’ve entered.
Localization Tab - Localization Settings
Localization settings go beyond simple language selection - they are very important settings used as defaults throughout the entire Firstage system.
Key Features Affected by Localization:
-
Analytics Statistics and Reports (Timezone-based)
- If daily analytics reports are generated at 4 AM → executed based on workspace timezone
- Example: Seoul (KST) setting → reports generated at 4 AM Korea time
- New York (EST) setting → reports generated at 4 AM US Eastern time
-
AI Content Generation (Uses defaults)
- When AI needs “location, currency, language” information for content generation but these aren’t specified for individual content → uses workspace settings as defaults
- Example: If no currency is specified → automatically applies workspace default currency (KRW)
-
Stage Profile Display (For visitors)
- Location and currency are utilized as profile information visible to visitors
Therefore, accurate settings improve the precision of all automation features.
Step 1: Set Default Language and Timezone
Language (default language):
- Supported languages: Korean (ko), English (en), Japanese (ja)
- Scope: Firstage interface language + default language for AI content generation
- AI uses this language as the default target when generating content.
- Example: English (en) setting → AI generates English content by default
Timezone (timezone) - Most Important Setting:
- Scope: Time reference for scheduled content publishing, analytics reports, and all automation systems
- Korea:
Asia/Seoul (KST, UTC+9) - US East Coast:
America/New_York (EST, UTC-5) - Japan:
Asia/Tokyo (JST, UTC+9)
Real-World Example:
- Korean K-Beauty creator sets “Asia/Seoul” → AI automatically generates new content daily at 8 AM Korea time
- Global team sets “UTC” → operates based on standard timezone convenient for all team members to collaborate
Step 2: Set Location and Currency
Country Code:
- Enter 2-letter ISO country code (Example: KR, US, JP)
- Or select from dropdown
- Impact: Provides regional context for AI content generation
Currency Code - Affects AI Generation:
- Enter 3-letter ISO currency code (Example: KRW, USD, JPY)
- Scope:
- AI uses default currency when mentioning prices/amounts
- Used for price display on Stage profile
- Example: “KRW” setting → AI automatically displays as “₩10,000” format
Example: If a Korean beauty creator sets USD, AI can display product prices in dollars, better targeting global customers.
Location (location/city):
- Optional. Enter city name (Example: Seoul, New York, Tokyo)
- Information visitors see on Stage profile (displays brand’s actual location)
Very Important: Changing these settings after creation can change the time reference for previously configured automation tasks.
Example: Changing timezone from “KST” to “UTC” → execution time of existing scheduled automatic tasks shifts 9 hours later
Therefore, set accurately when creating the workspace, and avoid changing unless absolutely necessary.
Saving Changes
After completing modifications in all tabs:
- Click the “Save” button at the bottom of each tab or the “Save Changes” button on the entire screen.
- A save completion message will appear.
- Changes are immediately reflected on your Stage profile.
Auto-save: Some fields are automatically saved after input and don’t require a separate save button.
Utilizing Real-Time Preview
In the right panel of the profile edit screen:
- Stage Profile Preview: See in real-time how changes will actually appear.
- Mobile Preview: Also check how it will look on smartphones.
- Modify until satisfied and save.
Next Steps
Profile settings are complete! Now:
- Publish Stage Profile: Share your Stage profile URL as a bio link.
- Invite Team Members: Invite teammates to manage together.
- Connect Social Media: Automate content publishing.