Creating Posts
Available Plans: All plans
Posts are content you create in Firstage and publish to social media. You can be inspired by ideas or write from scratch, then save posts as schedule items to collaborate with team members and publish.
Post Editor Key Features
Firstage’s social media editor provides:
- Text Formatting: Bold, italic and other basic formatting
- Emoji Auto-Complete: Type
:to quickly insert emoji - Mentions: Type
@to mention users - Hashtags: Type
#for automatic detection - Link Auto-Detection: URLs automatically become links when pasted
- Image Gallery: Drag-and-drop to upload images (up to 10)
- AI Text Generation: Auto-generate and improve content with AI
- Reply Management: Pre-write comments and replies to your posts
- Multi-Channel Publishing: Publish to Threads, Instagram and more at once
- Preview: Check expected appearance on each channel
Creating Posts
Step 1: Open Content Creation Dialog
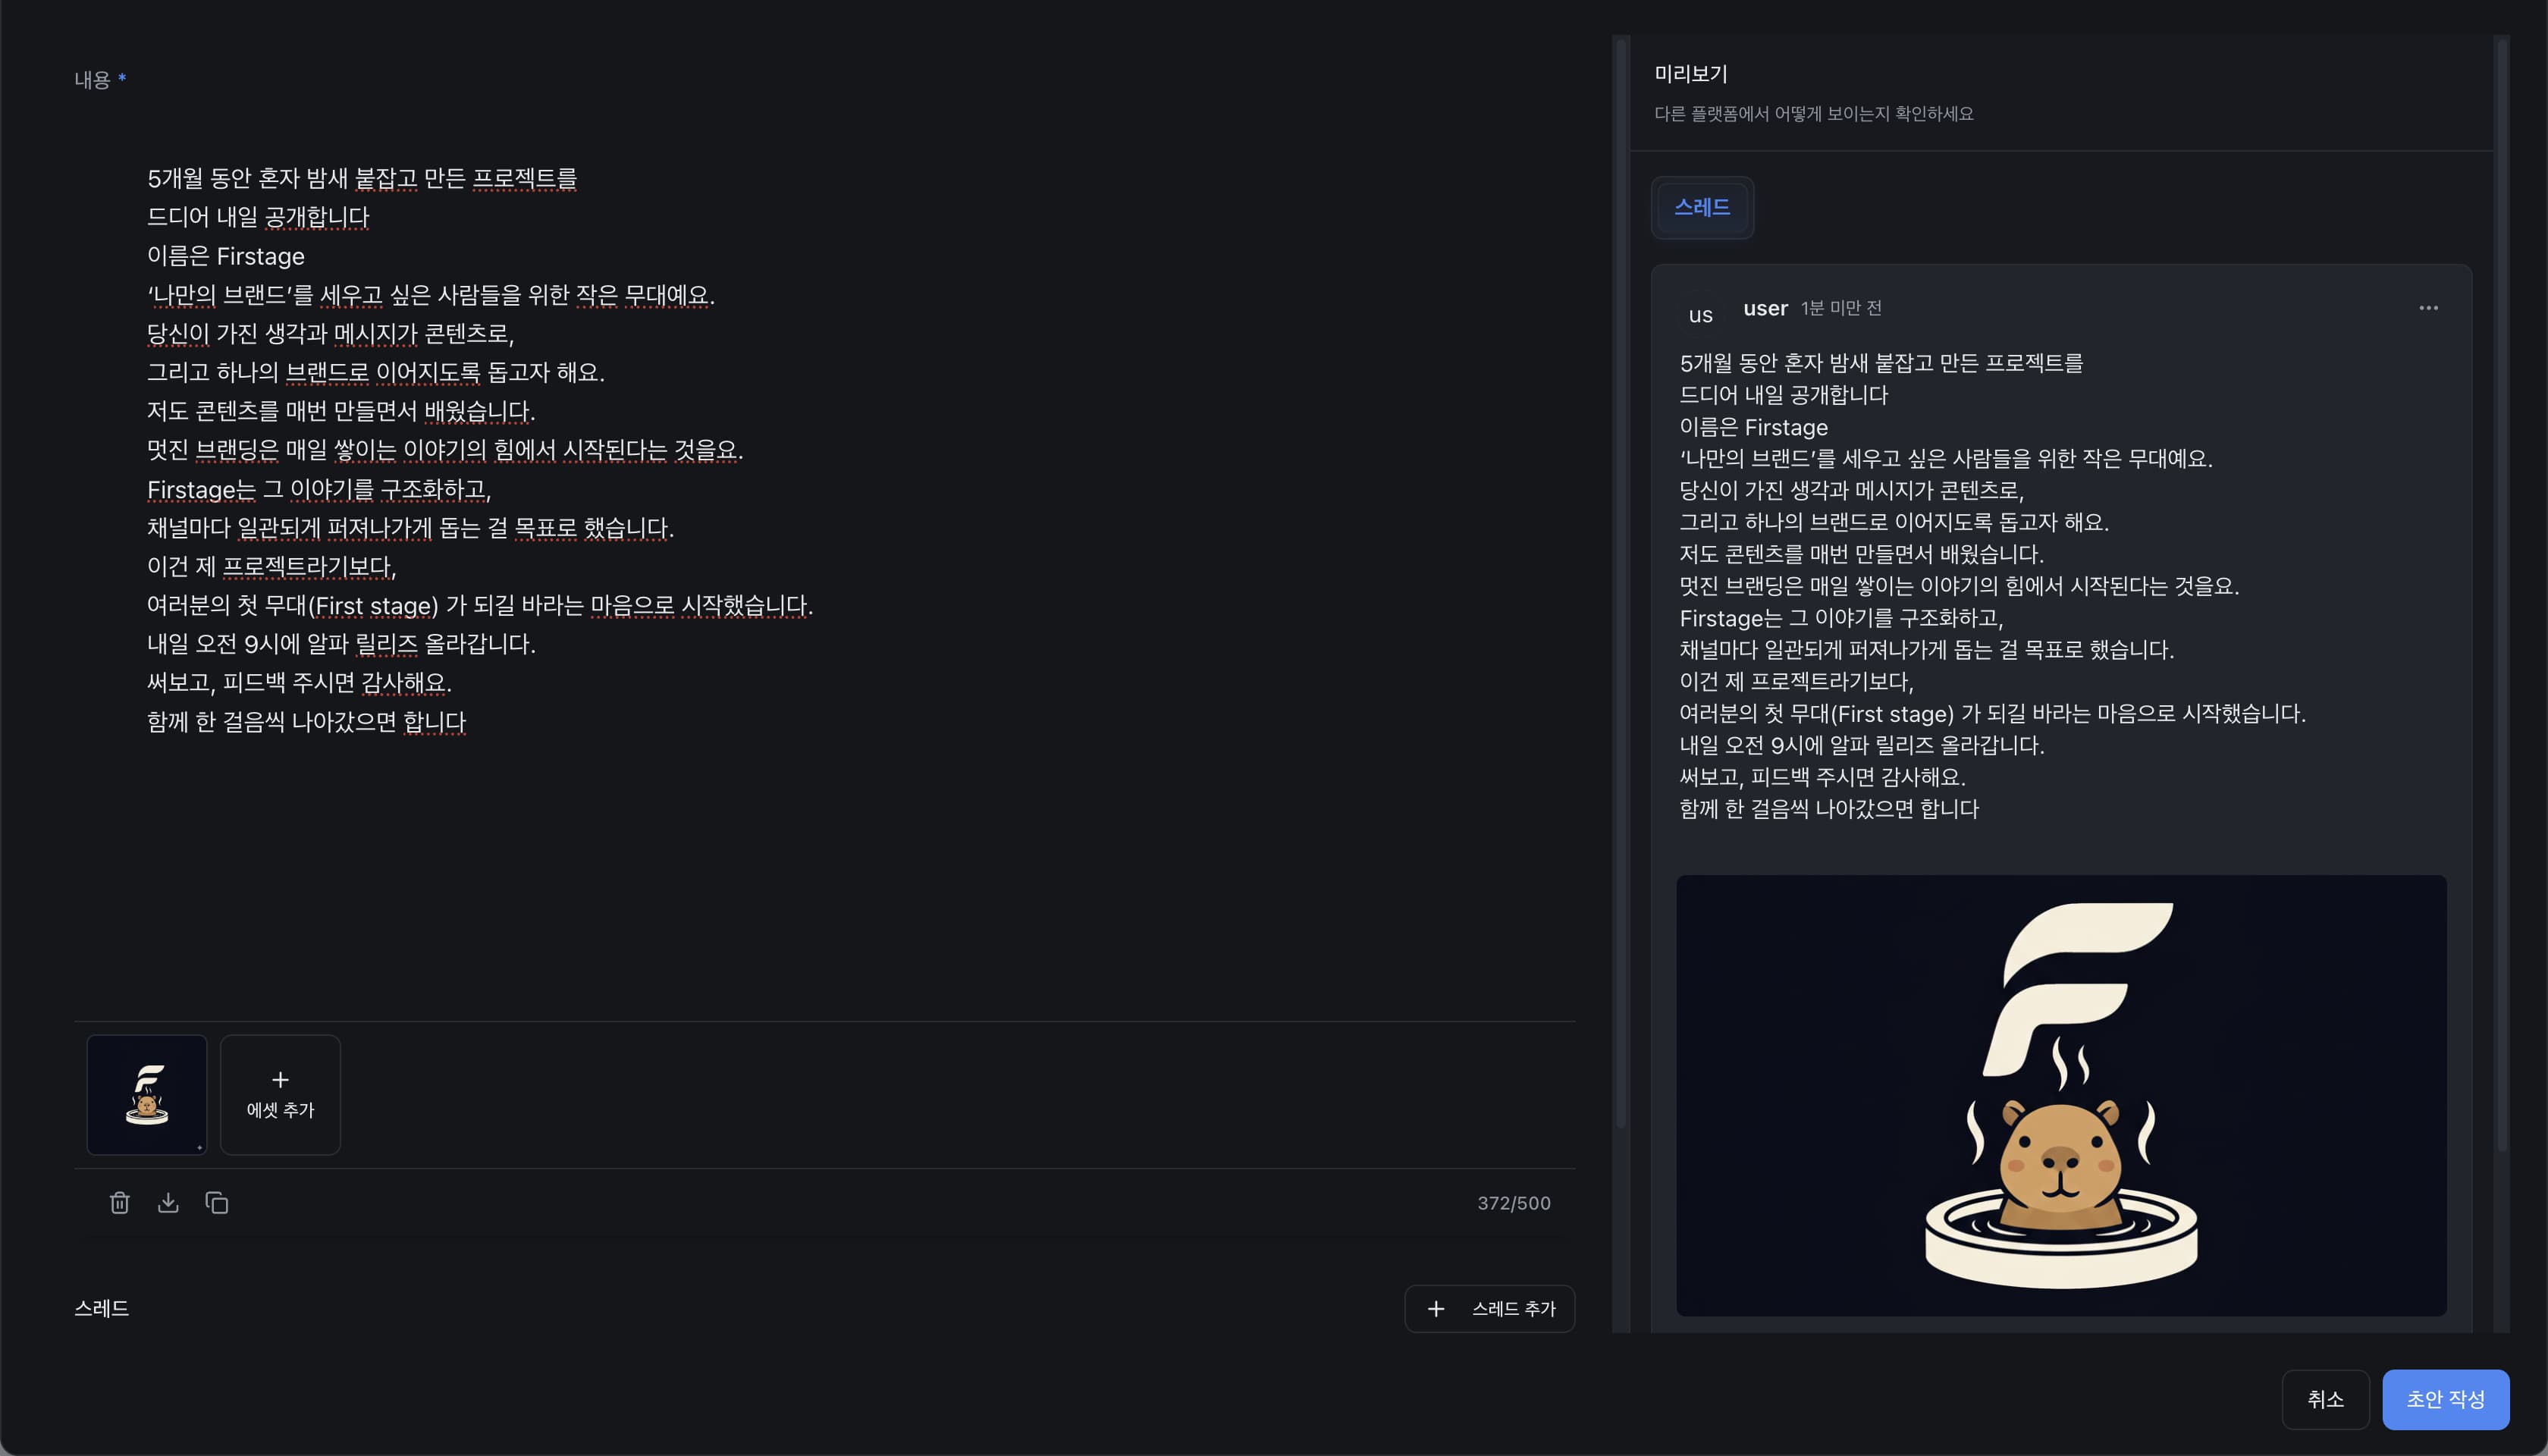
Click the “Create Content” button on your Firstage dashboard to open the content creation dialog.
Tip: Write content in the left editor panel and view real-time preview in the right preview panel.
Step 2: Write Content in the Social Media Editor
Enter your post content in the editor area:
- Text: Simple text input (bold, italic supported)
- Emoji: Type
:followed by emoji name to auto-complete (e.g.,:smile:→ 😊) - Mentions: Type
@then search and mention users - Hashtags: Type
#to automatically detect hashtags (e.g.,#marketing) - Links: Paste URLs and they automatically become links
- Images: Drag-and-drop or use gallery below to add images (up to 10)
- AI Generation: Use AI feature to auto-generate and improve text
Maximum 500 characters limit applies.
⚠️ Important: Unsaved content will be lost if you navigate away. Save frequently.
Step 3: Add Replies
Pre-write comments or replies to your post.
- Click “Add Reply” button
- Enter content for each reply (up to 500 characters)
- Use the drag handle (≡) to reorder replies
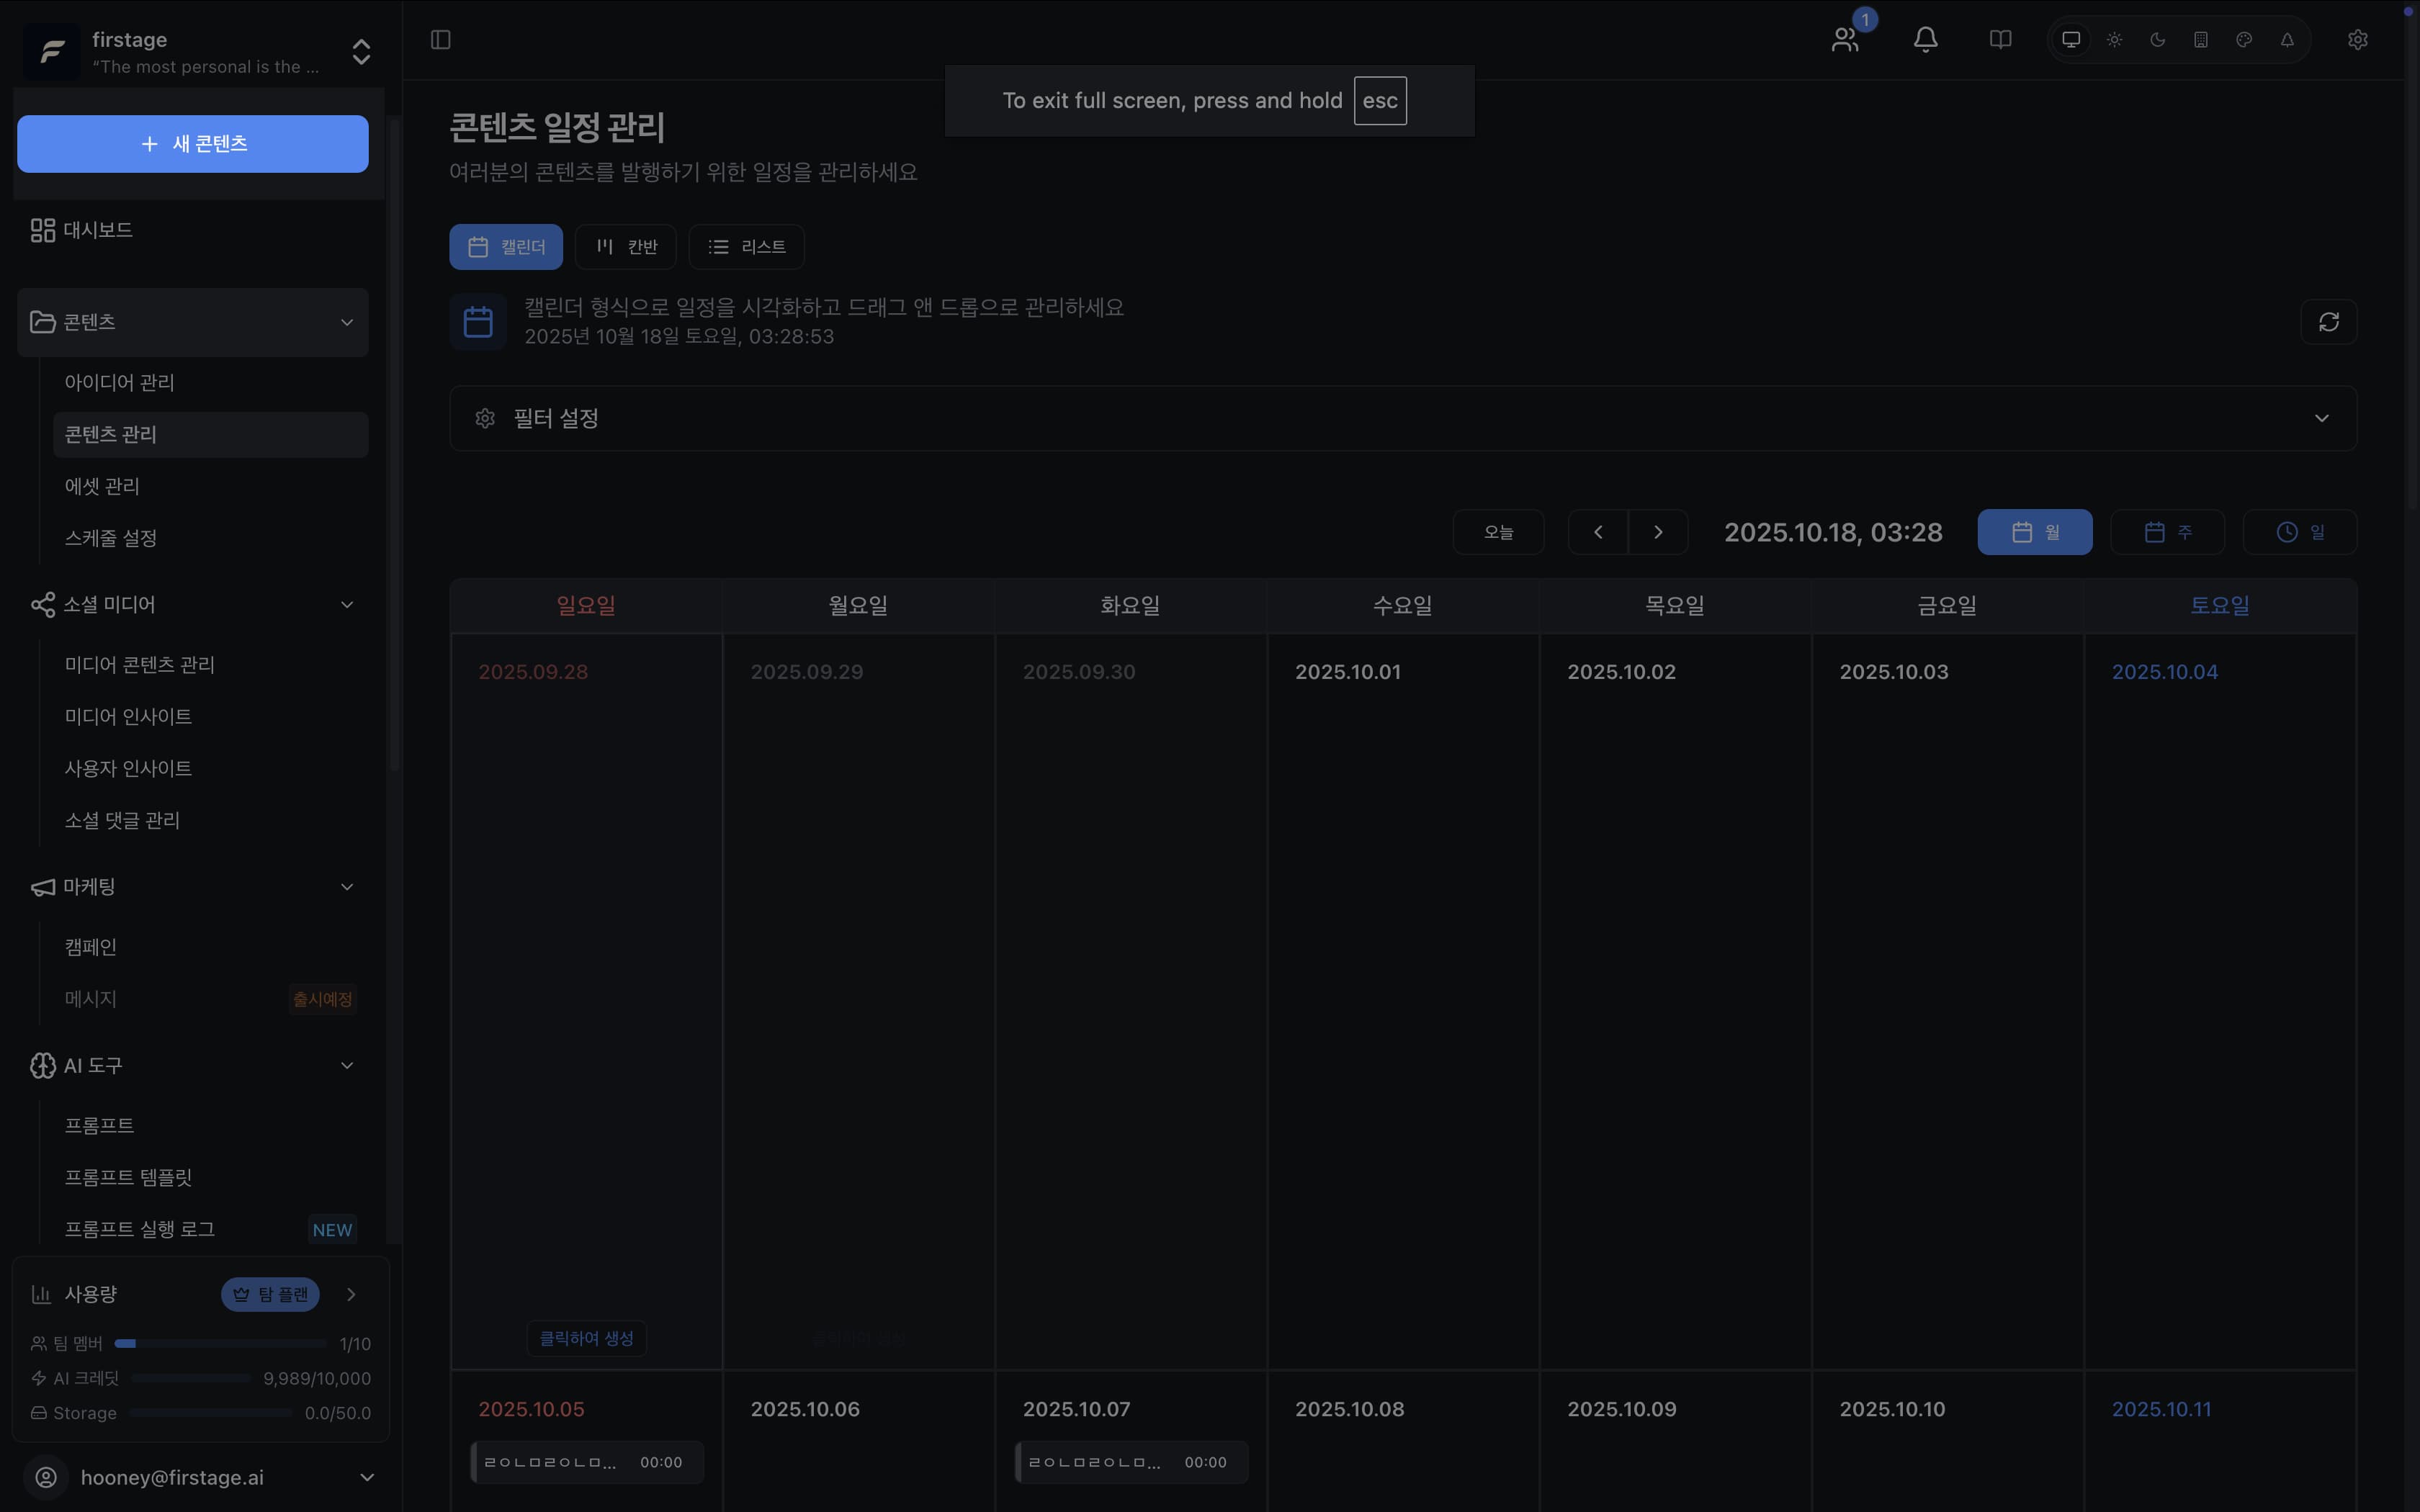
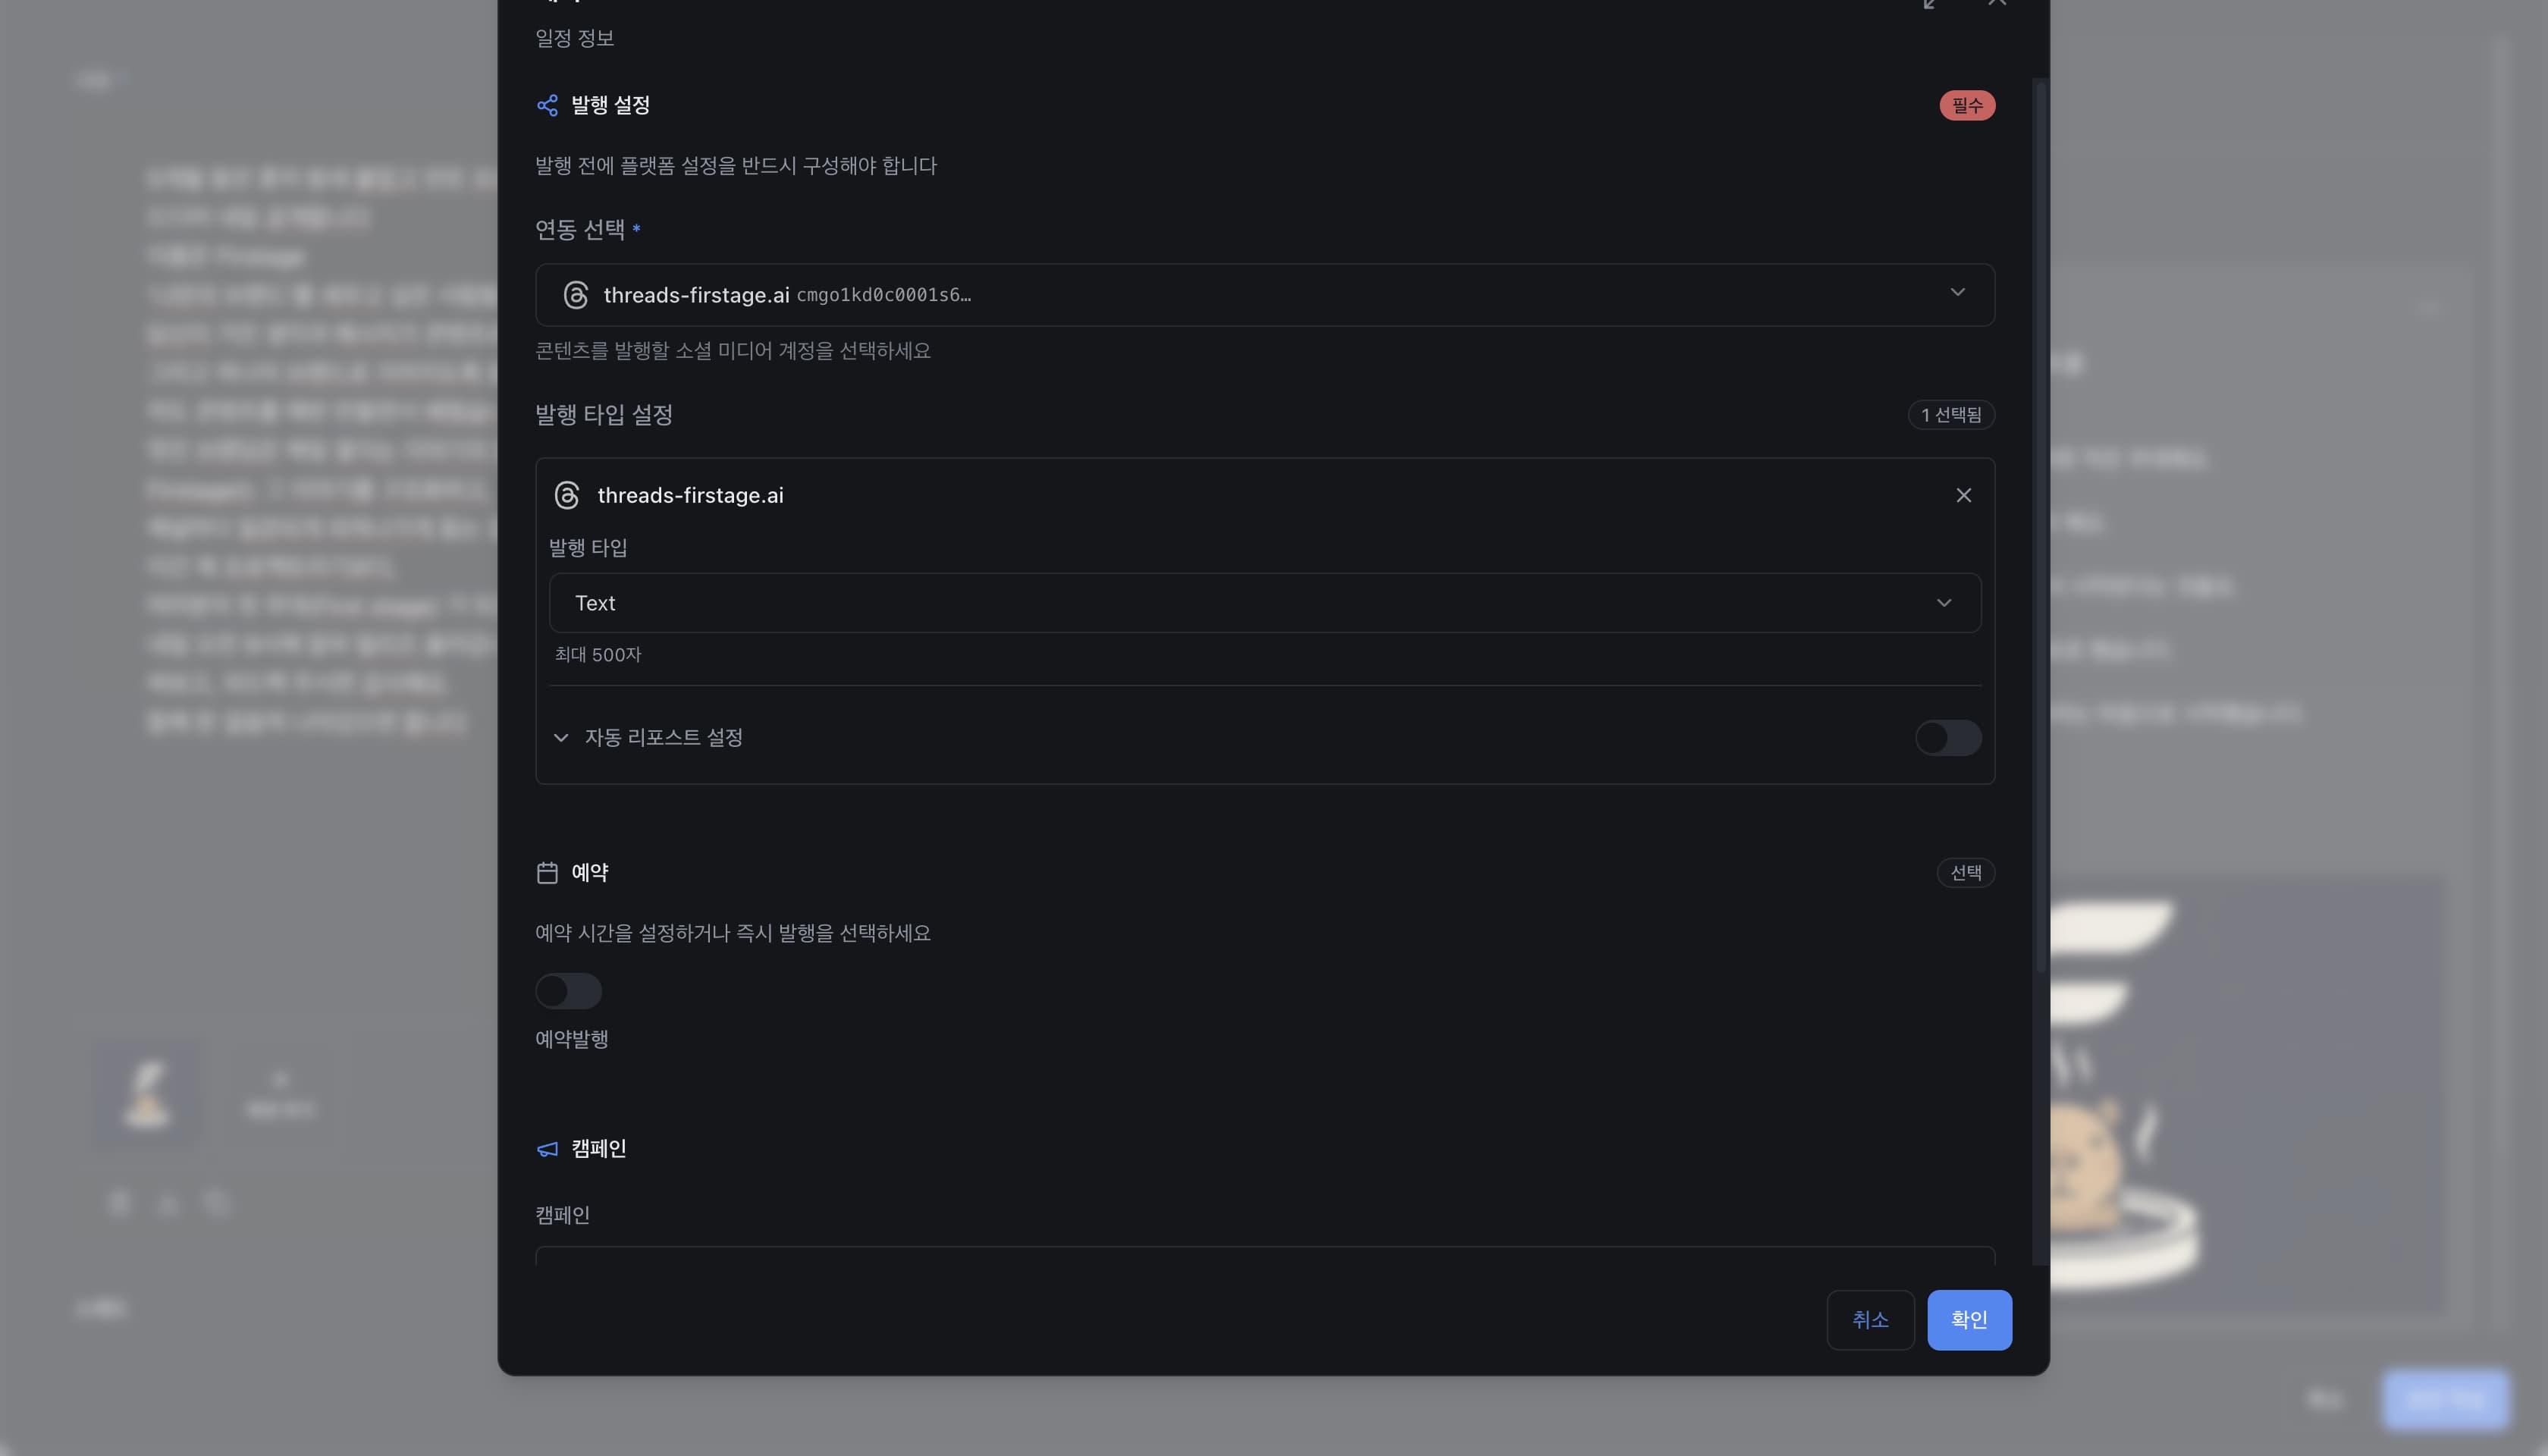
Step 4: Save as Schedule Item and Set Metadata
After writing, click “Save” to save as a schedule item.
Configure the following in the right metadata panel:
- Title: Identifying title for internal use
- Description: Brief description of the post
- Priority: Select Low, Medium, or High
- Scheduled Publishing: Set date and time for automatic publishing (optional)
- Campaign: Link post to a marketing campaign (optional)
- Status: Saved as Draft
✅ Done!: Saved as a schedule item. Now you can manage schedules and collaborate with team members for publishing.
Post Writing Tips
Good Post Example
Firstage reduces content creation time by 50%!

✓ Get ideas from AI
✓ Edit with powerful editor
✓ Publish to all channels at once

Start now → [link]
Reply Strategies
- Encourage Questions: “What do you think?”
- Express Gratitude: “Thanks for the comment!”
- Share Additional Info: Provide details not in the main post
Frequently Asked Questions
Q: I want to edit a saved post.
A: Go to schedule management to find your saved post and click it to edit anytime before publishing.
Q: Can I reuse the same post?
A: Yes. You can duplicate posts in schedule management or republish to different times or channels.
Q: Do replies display differently on each channel?
A: Yes, replies are formatted according to each social media’s comment style.
Q: What if I don’t set a scheduled publishing time?
A: Posts are saved as Draft. You can publish anytime later or set a scheduled time in schedule management.
Next Steps
- Schedule Management - Team collaboration, approval workflows, publishing management
- Create Posts from Ideas
- Analyze Published Posts