Workspace
Creating a Workspace
Every task in Firstage begins with a workspace. A workspace is your dedicated space for brand, project, or team where you create content, integrate social media, and collaborate with team members.
This guide walks you through the simple 2-step process of creating a new workspace.
Step 1: Enter Basic Information
Click the “Create New Workspace” button on your dashboard to begin the creation process. First, enter the basic information to identify your workspace.
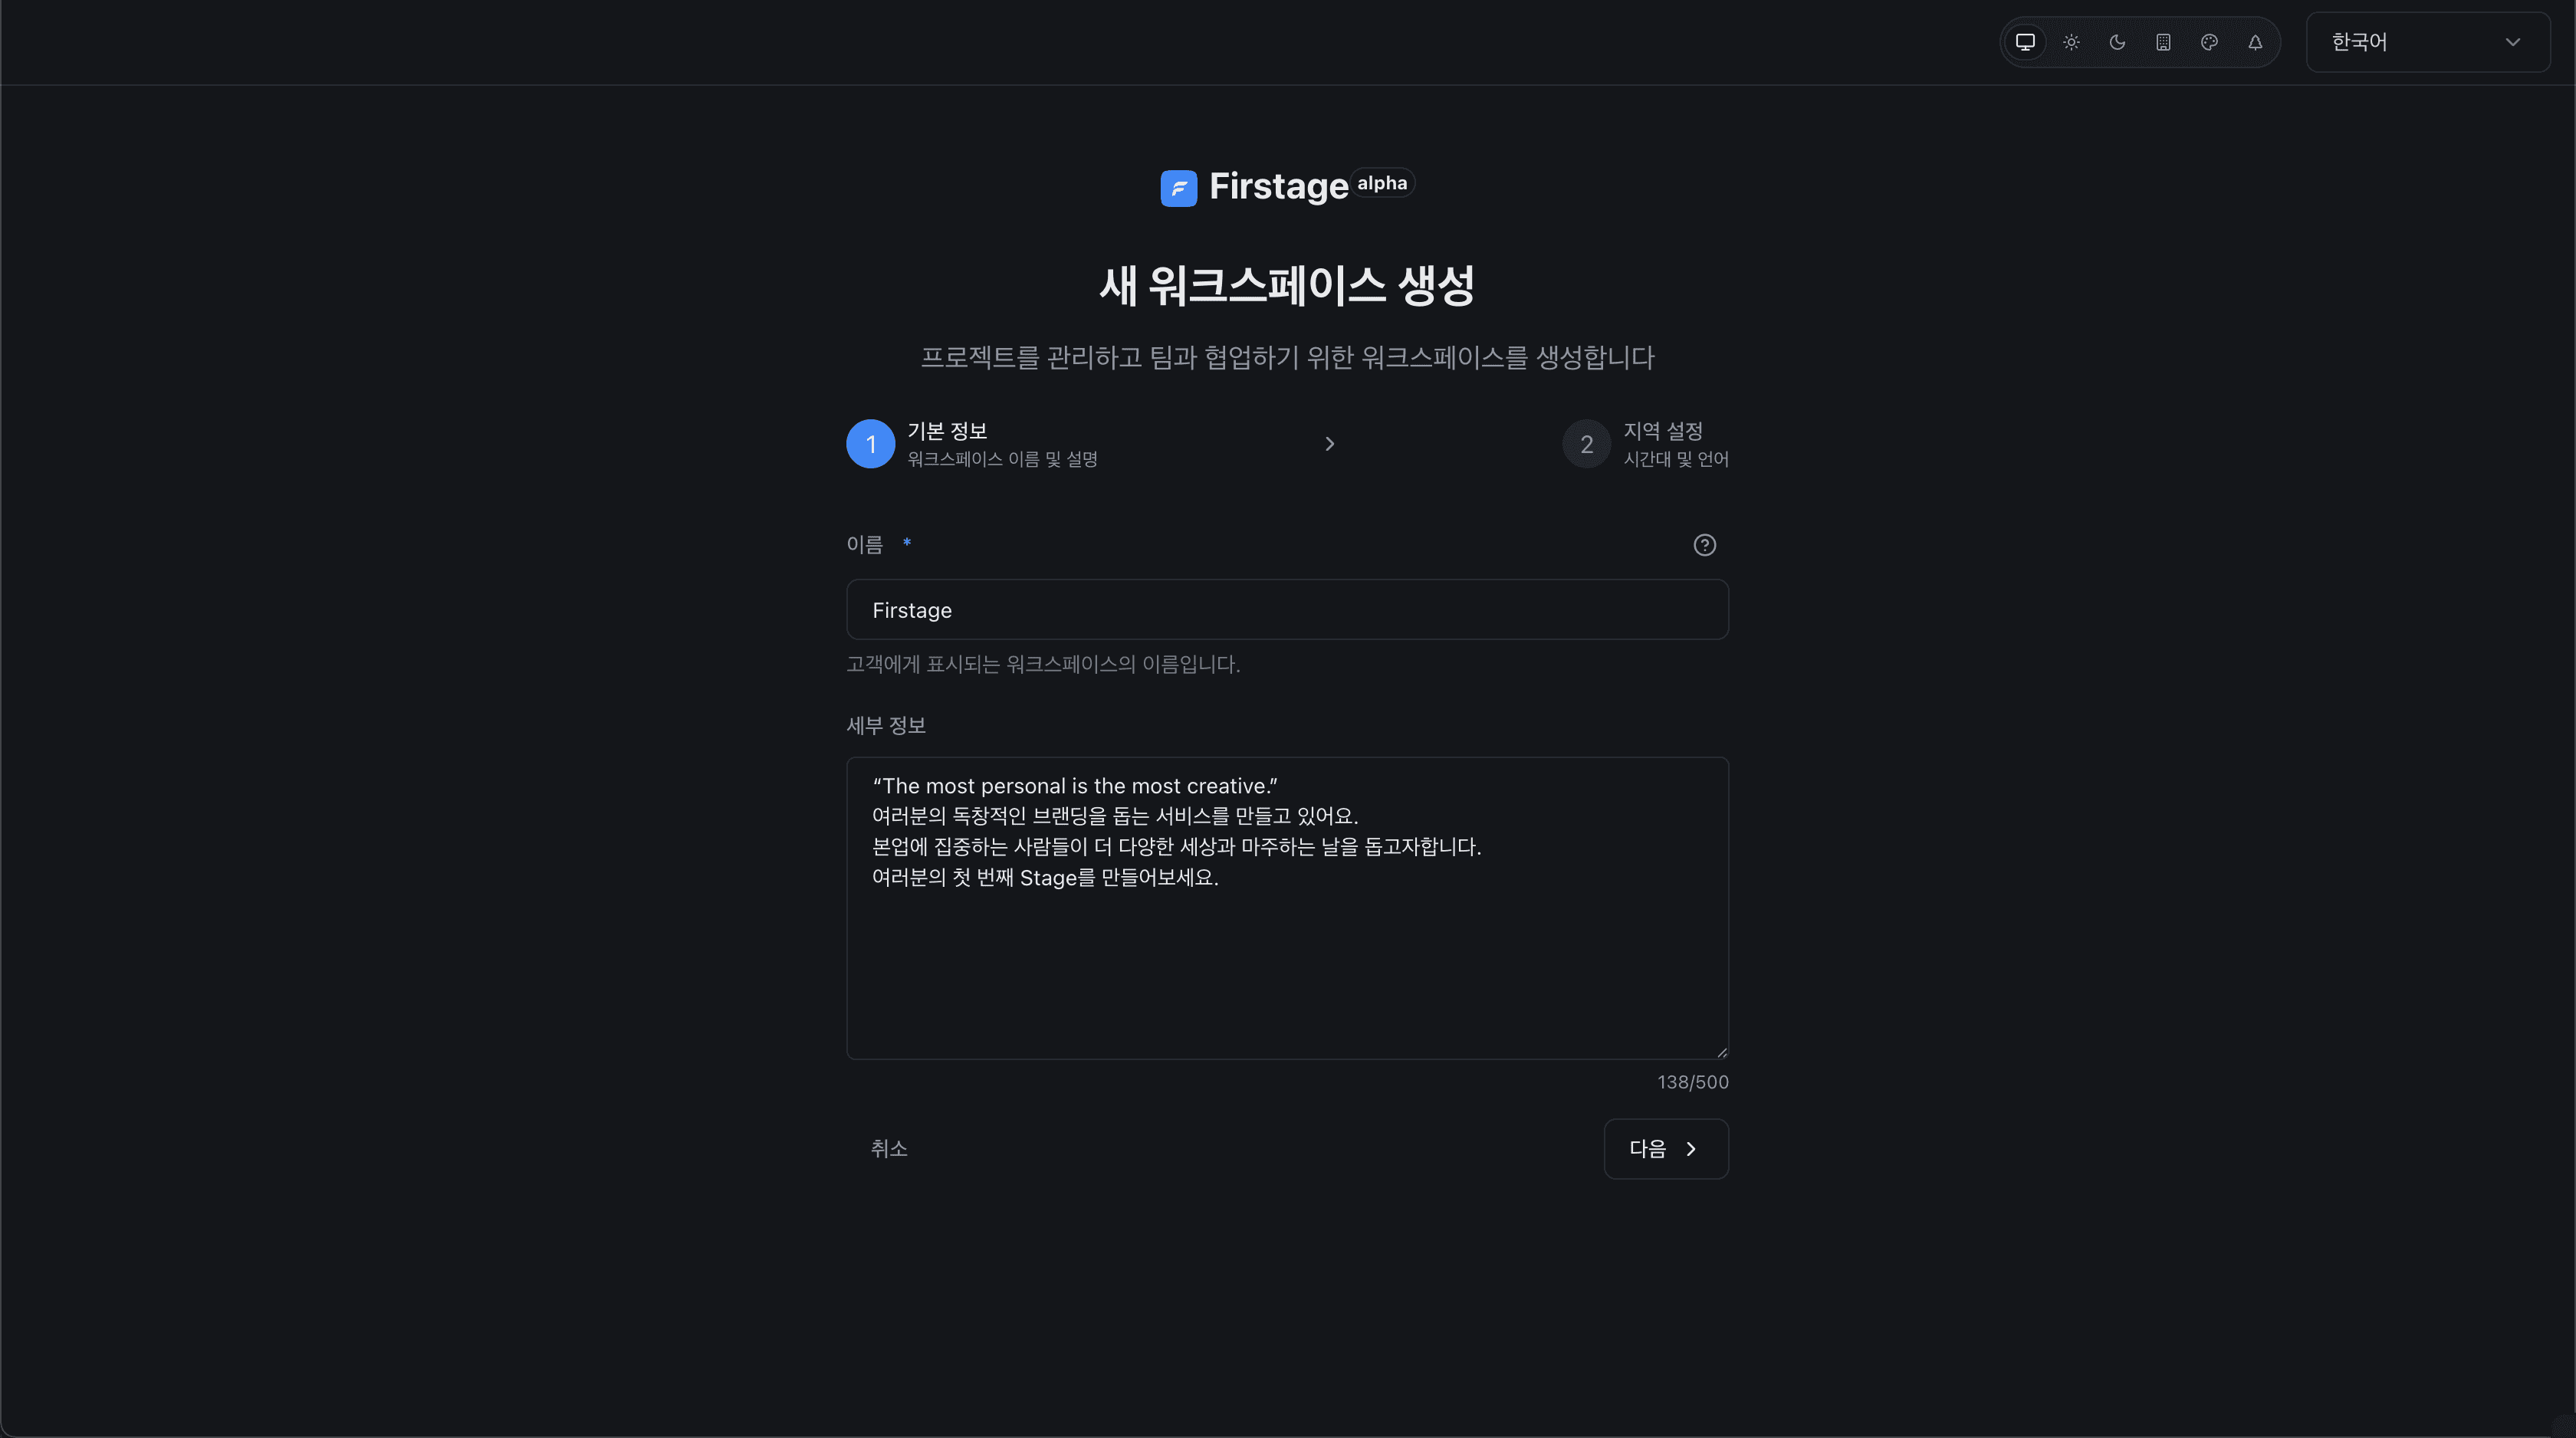
- Workspace Name: The name that will be displayed to your team and customers. (Example: “Firstage Marketing Team”)
- Description (Optional): A brief description of the workspace’s purpose or role.
Custom workspace URLs visible to customers are available for
Pro Planusers and above. These are finalized by administrators through a verification process.
After entering the basic information, click the ‘Next’ button to proceed to Step 2.
Step 2: Localization Settings and Complete Creation
Finally, configure your workspace’s default language and timezone. Timezone settings are critical as they determine when tasks in the content system (such as analytics and report generation) will run.
For Korea, use KST.
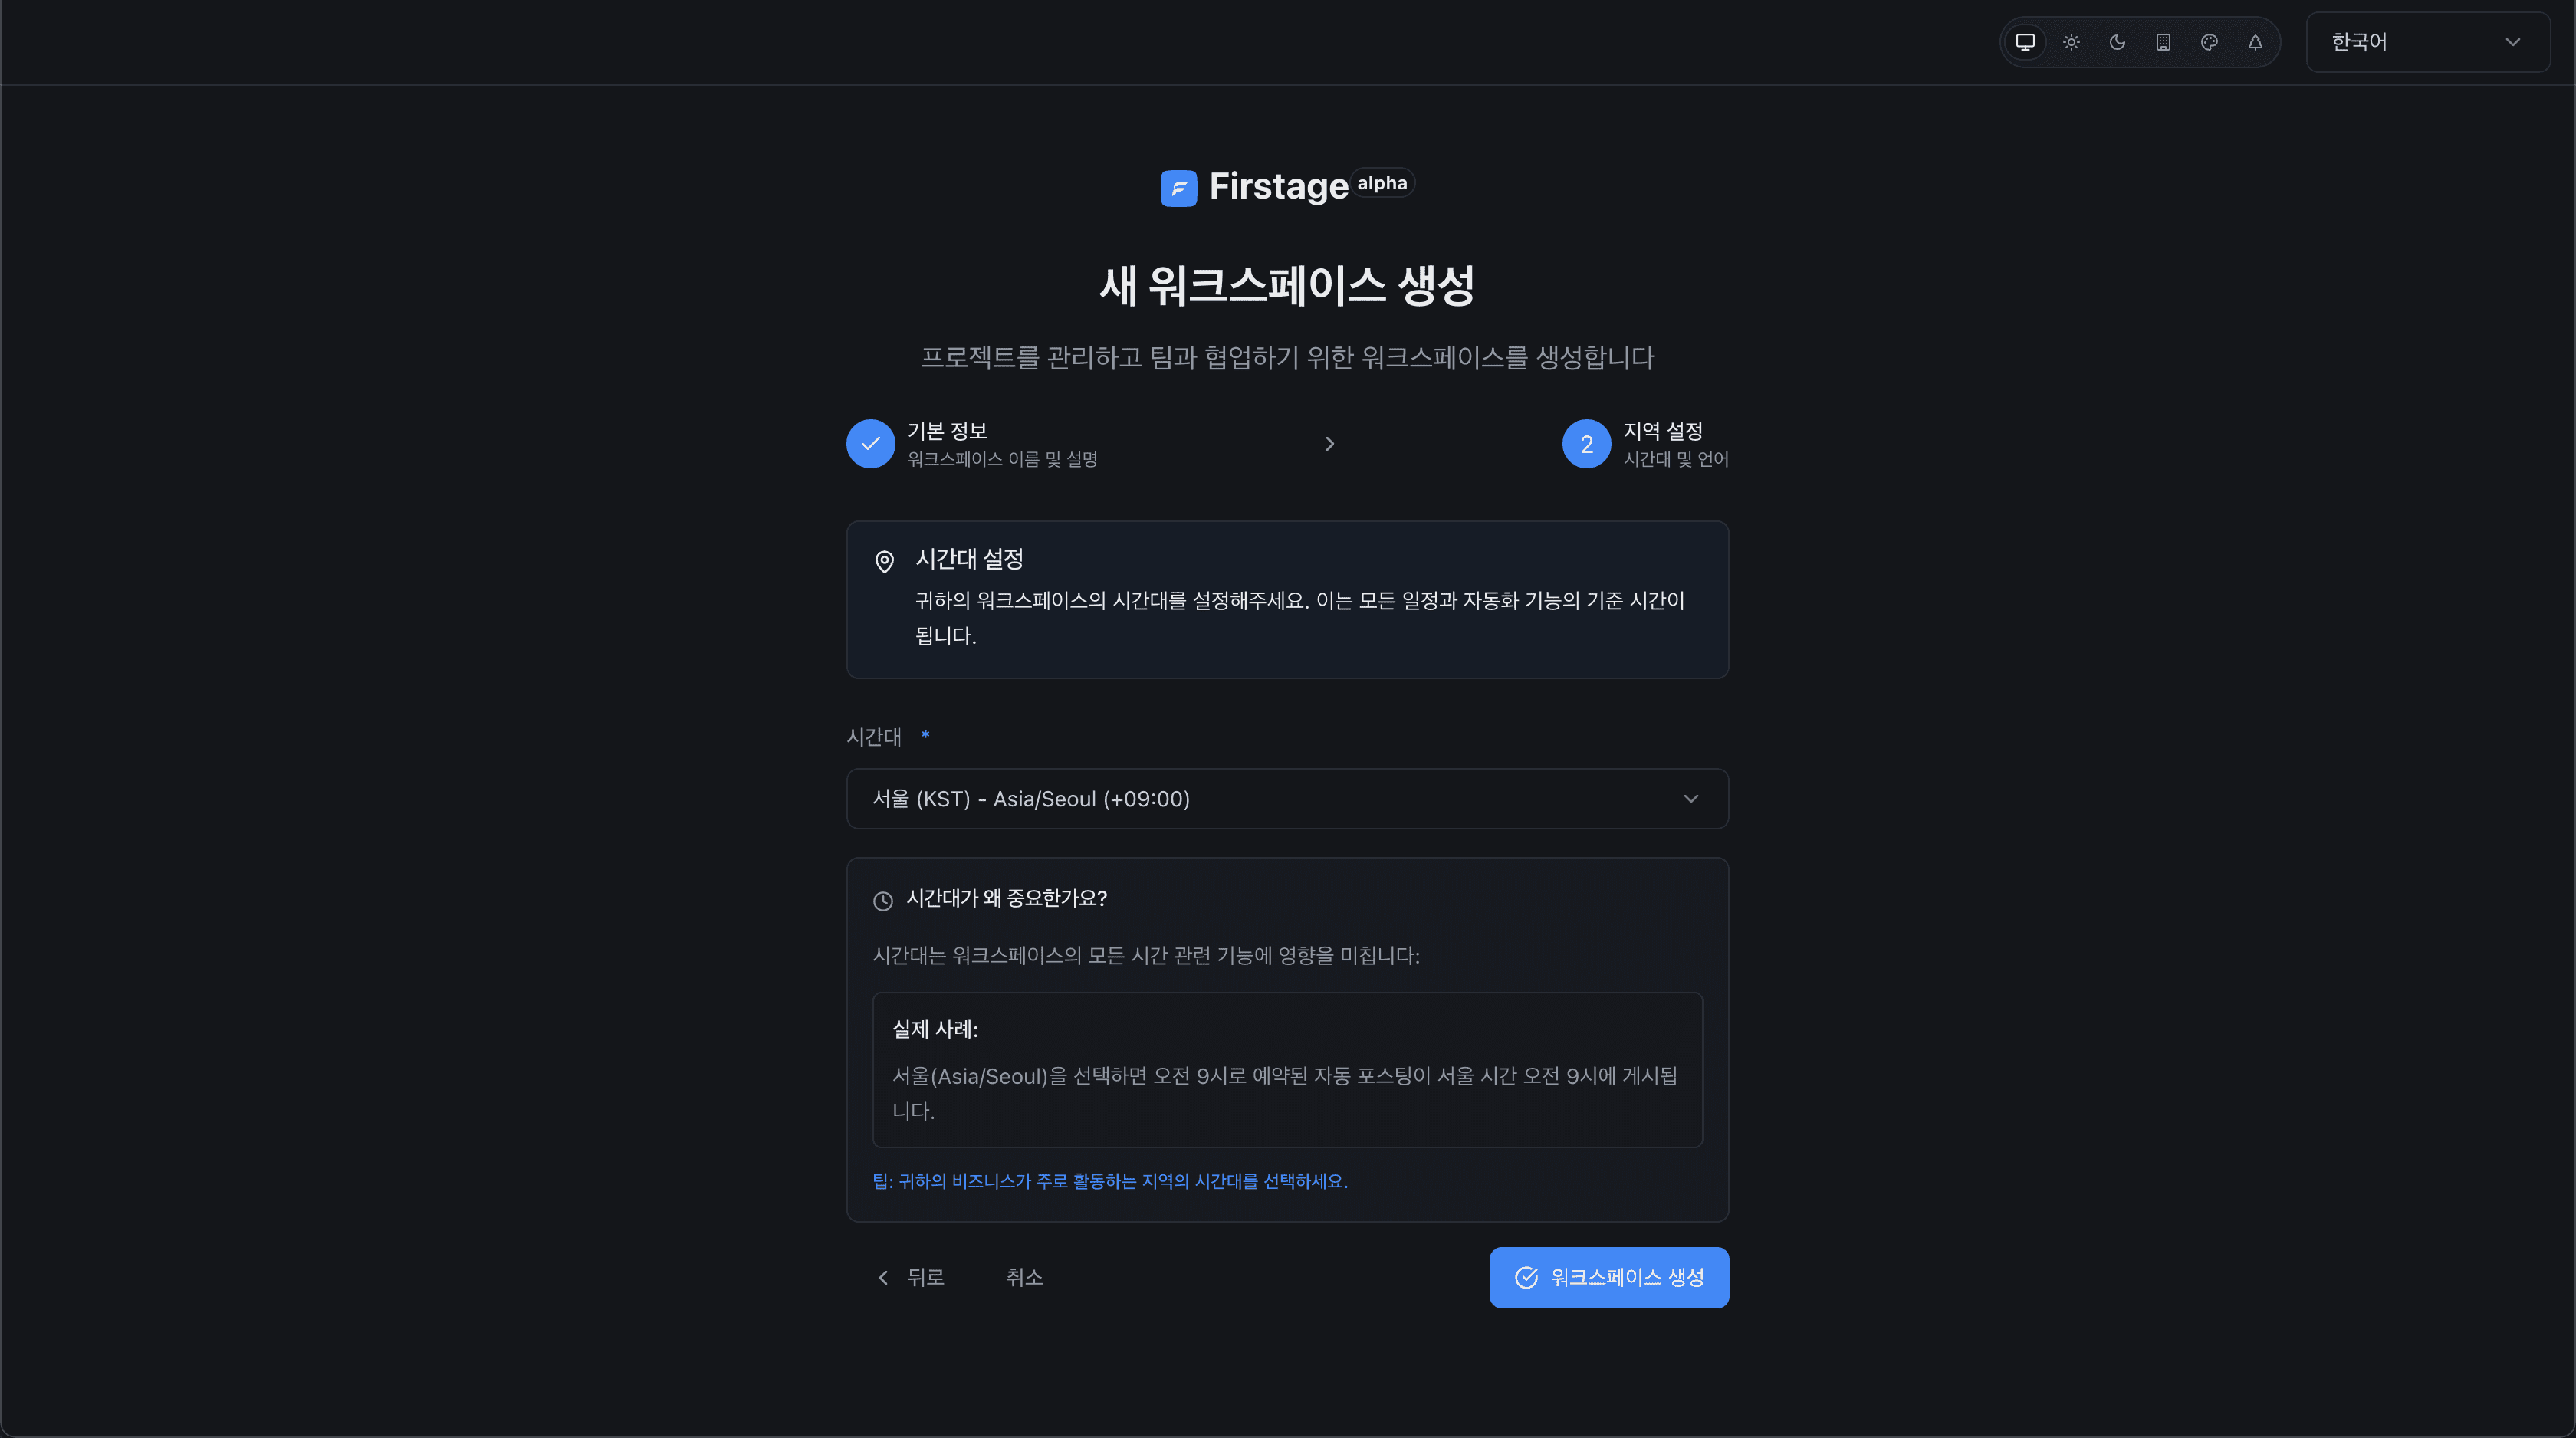
- Language: Set the workspace’s default language. (Korean, English, Japanese supported)
- Timezone: Select the timezone that will be the reference for content scheduled publishing and other operations.
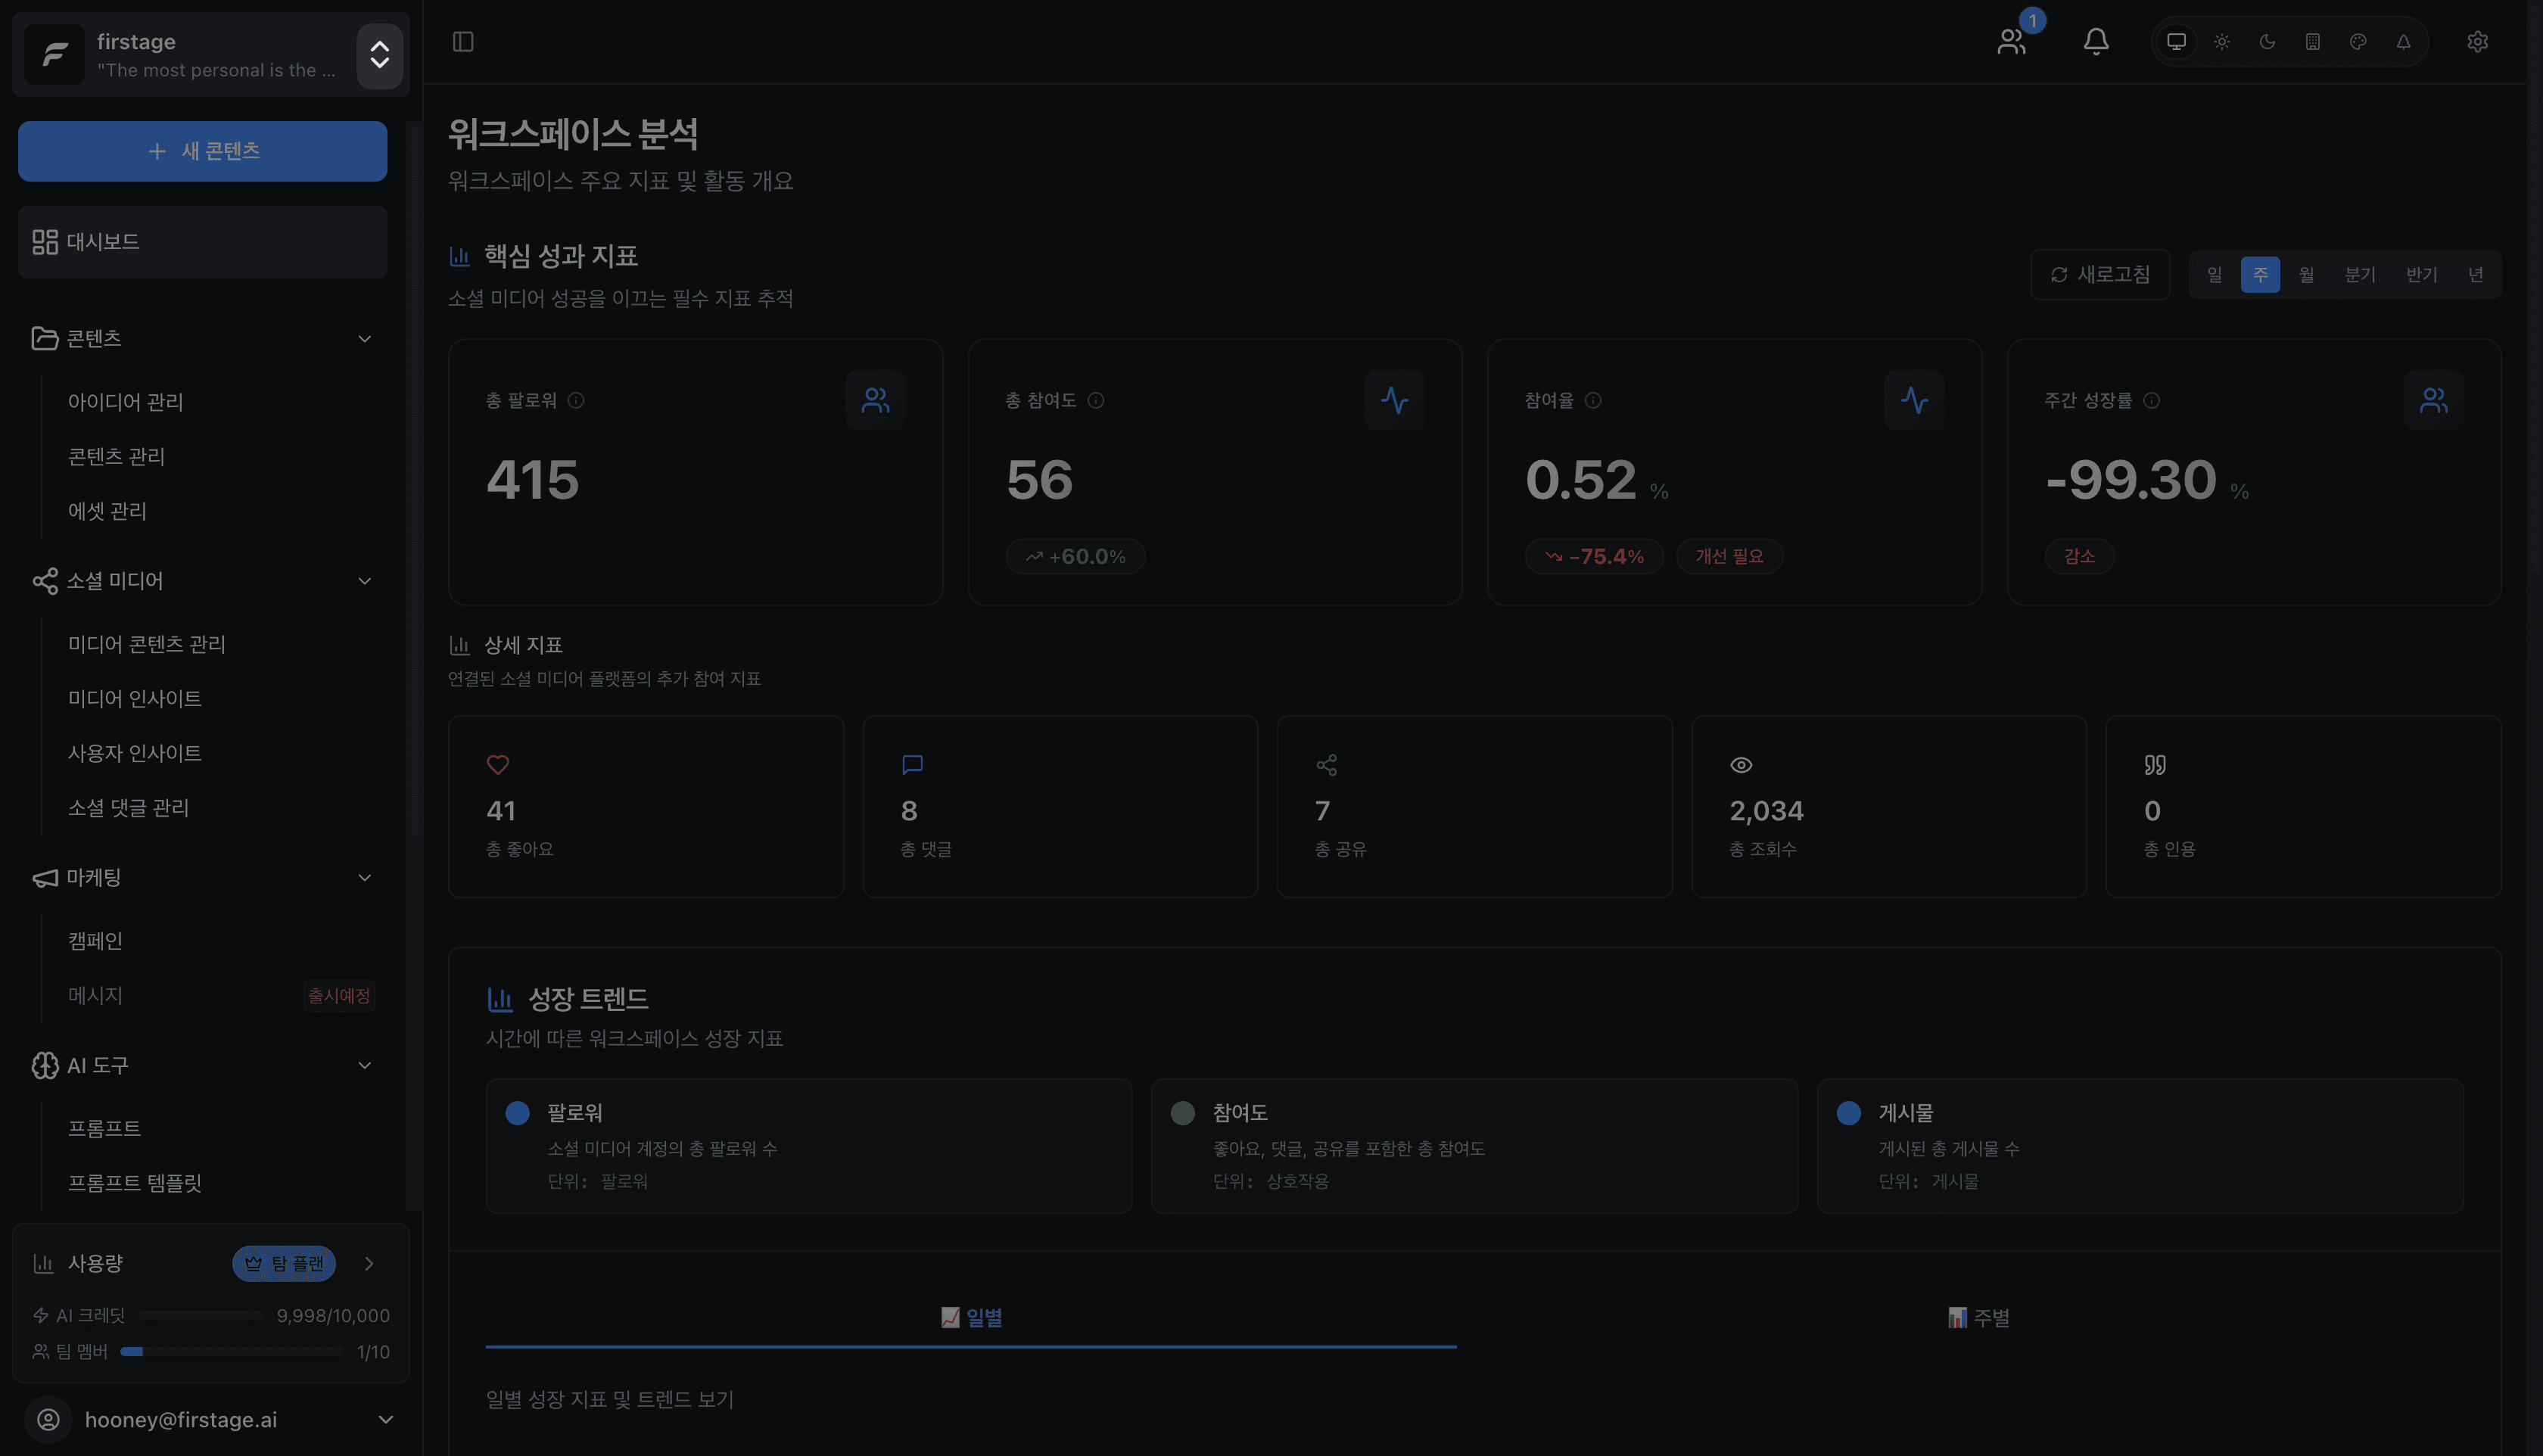
After entering all information, click the “Create Workspace” button, and your new workspace will be ready. Shortly after, you’ll be redirected to your newly created workspace dashboard.
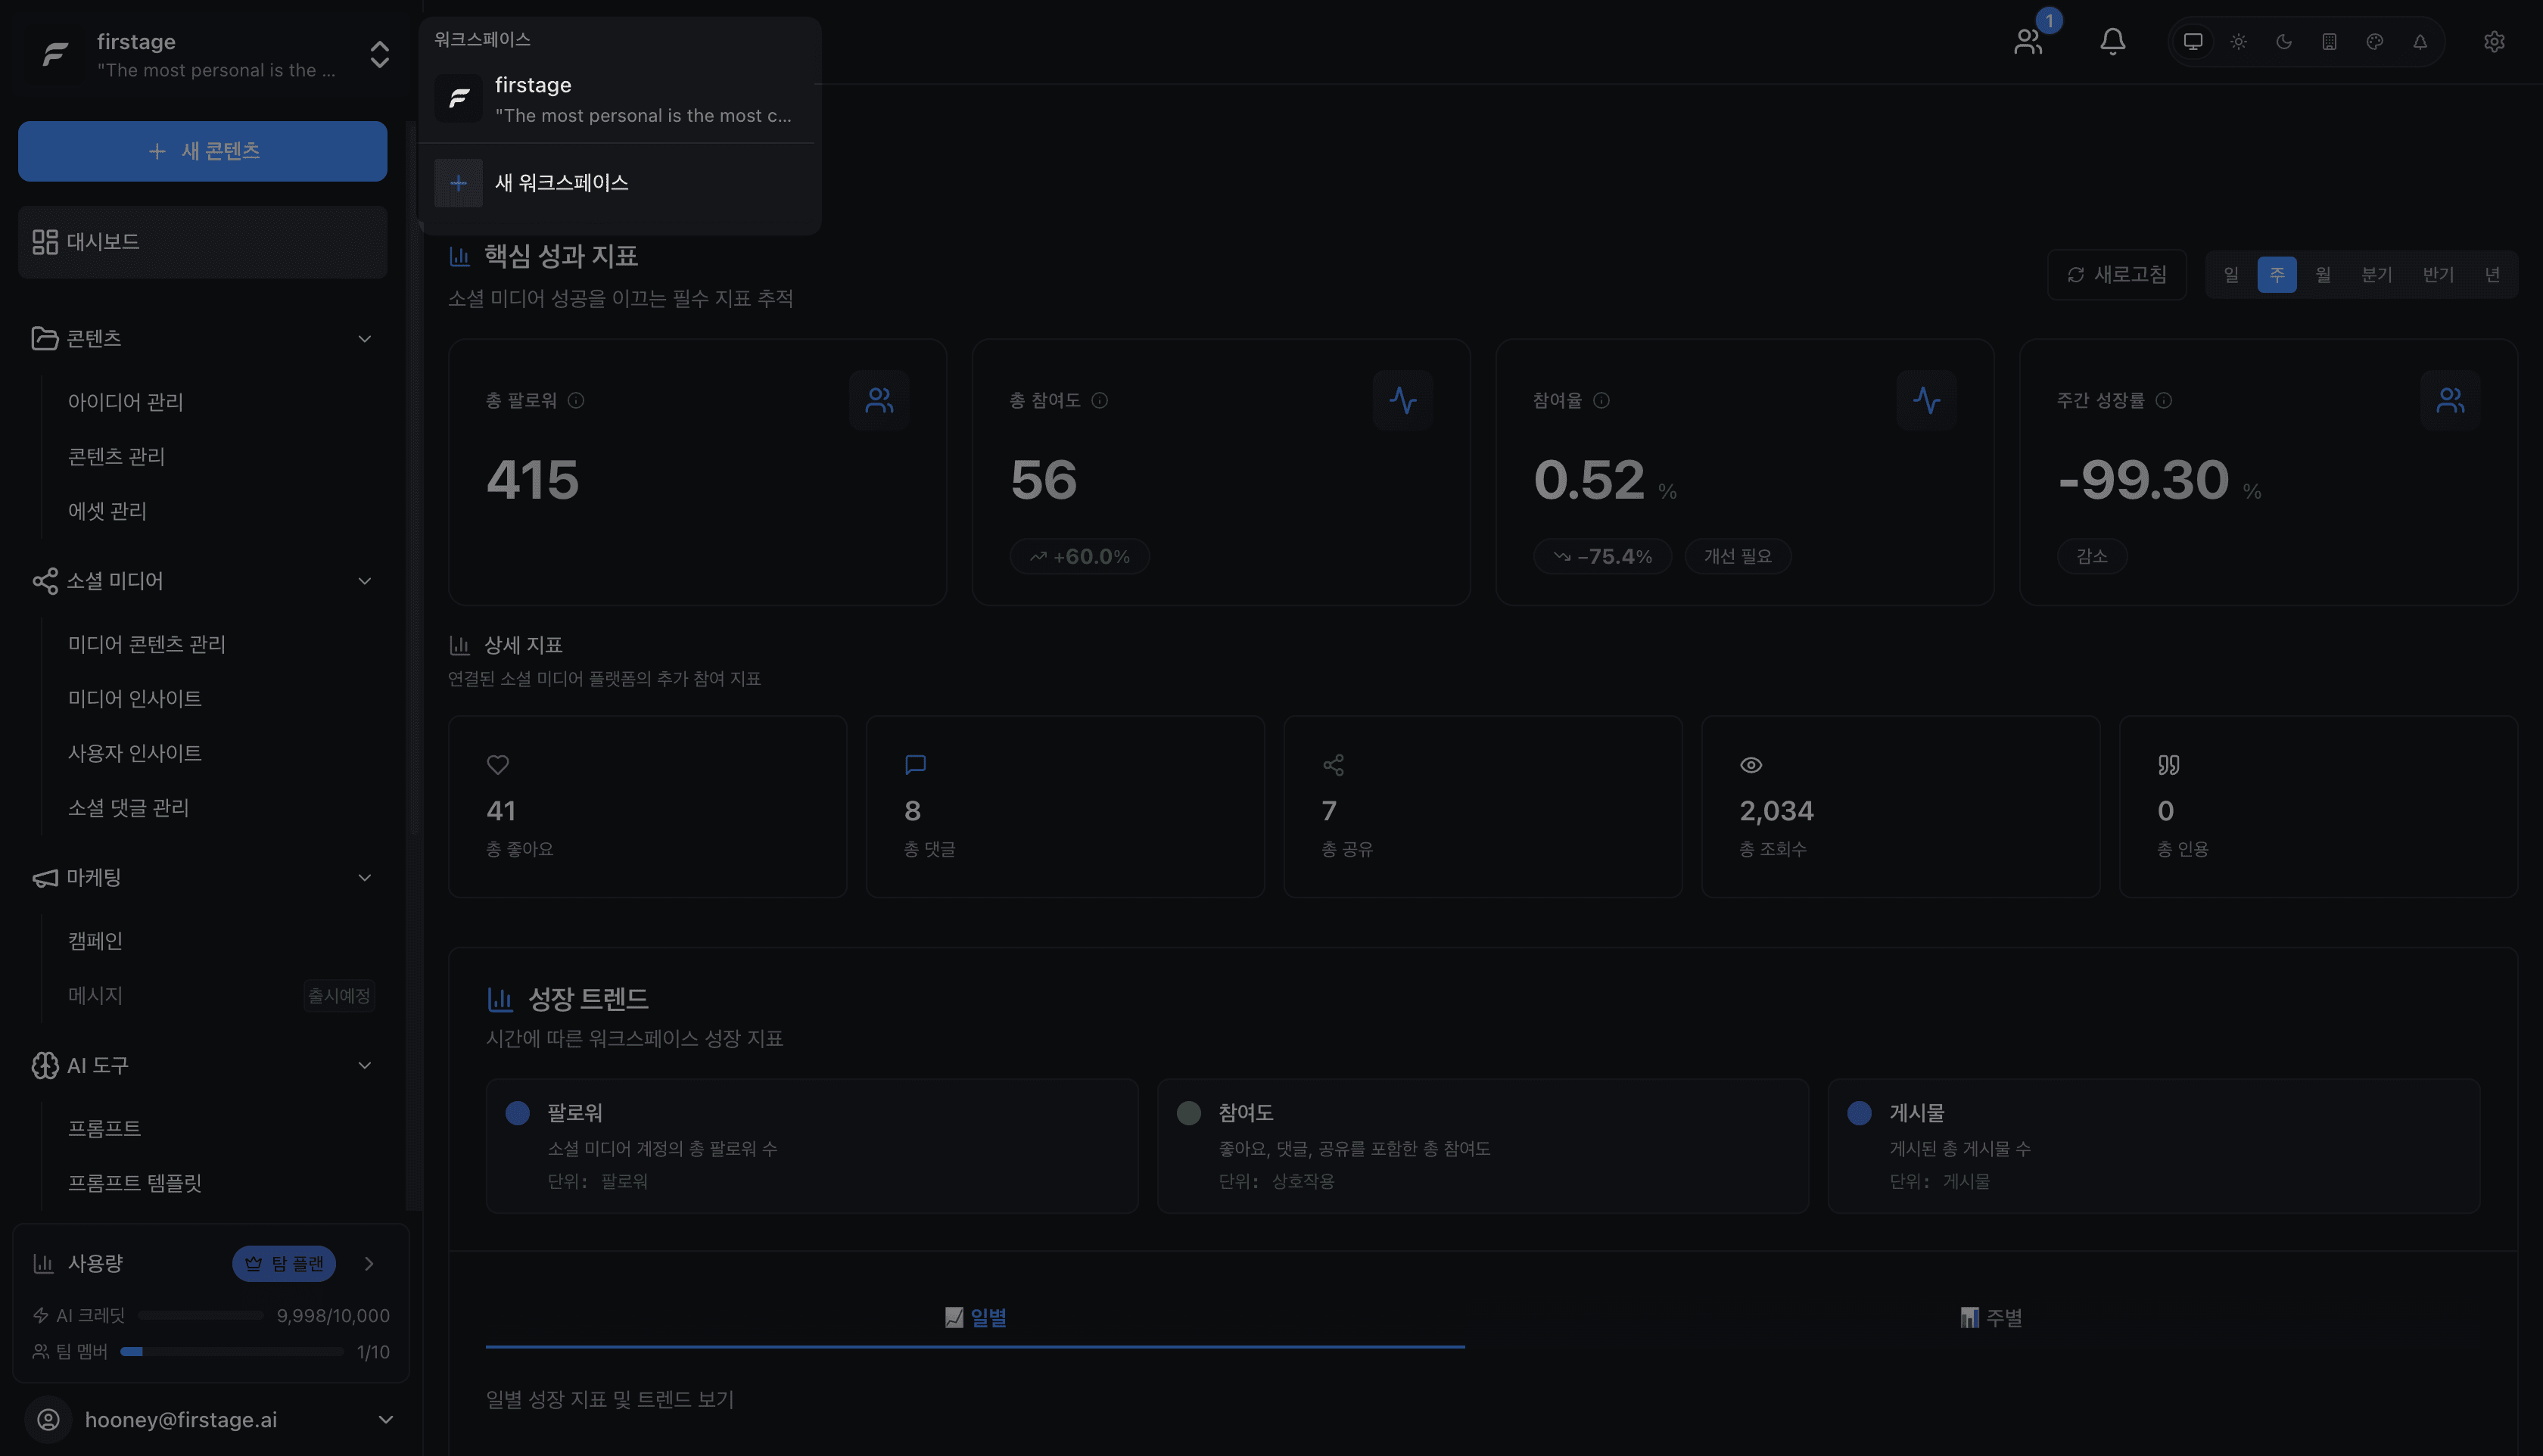
Adding More Workspaces
You can create additional workspaces from the workspace list.
Within the dashboard, you can view your workspace list and add new workspaces from there.
Next Steps
Your workspace is ready! Now proceed with these next steps:
- Invite Team Members: Invite colleagues to collaborate in your workspace.
- Connect Social Accounts: Integrate the social media accounts where you’ll publish content.
- Create Your First Content: Develop your ideas and create your first piece of content.