Deleting a Workspace
You can delete a workspace you no longer need. Before deleting, please read this page carefully.
Important Cautions
Deletion is permanent. All content, settings, and data will be completely removed. Recovery is not possible.
- What gets deleted:
- All posts and drafts
- Team member information and permissions
- Social media integration settings
- Analytics data
- Scheduled posts
Before Deleting - Checklist
Check the following before deleting:
- Have you backed up important content?
- Have you notified your team members?
- Do you have other active workspaces?
- If you have a paid subscription, have you cancelled it first?
How to Delete
Step 1: Access Settings Menu
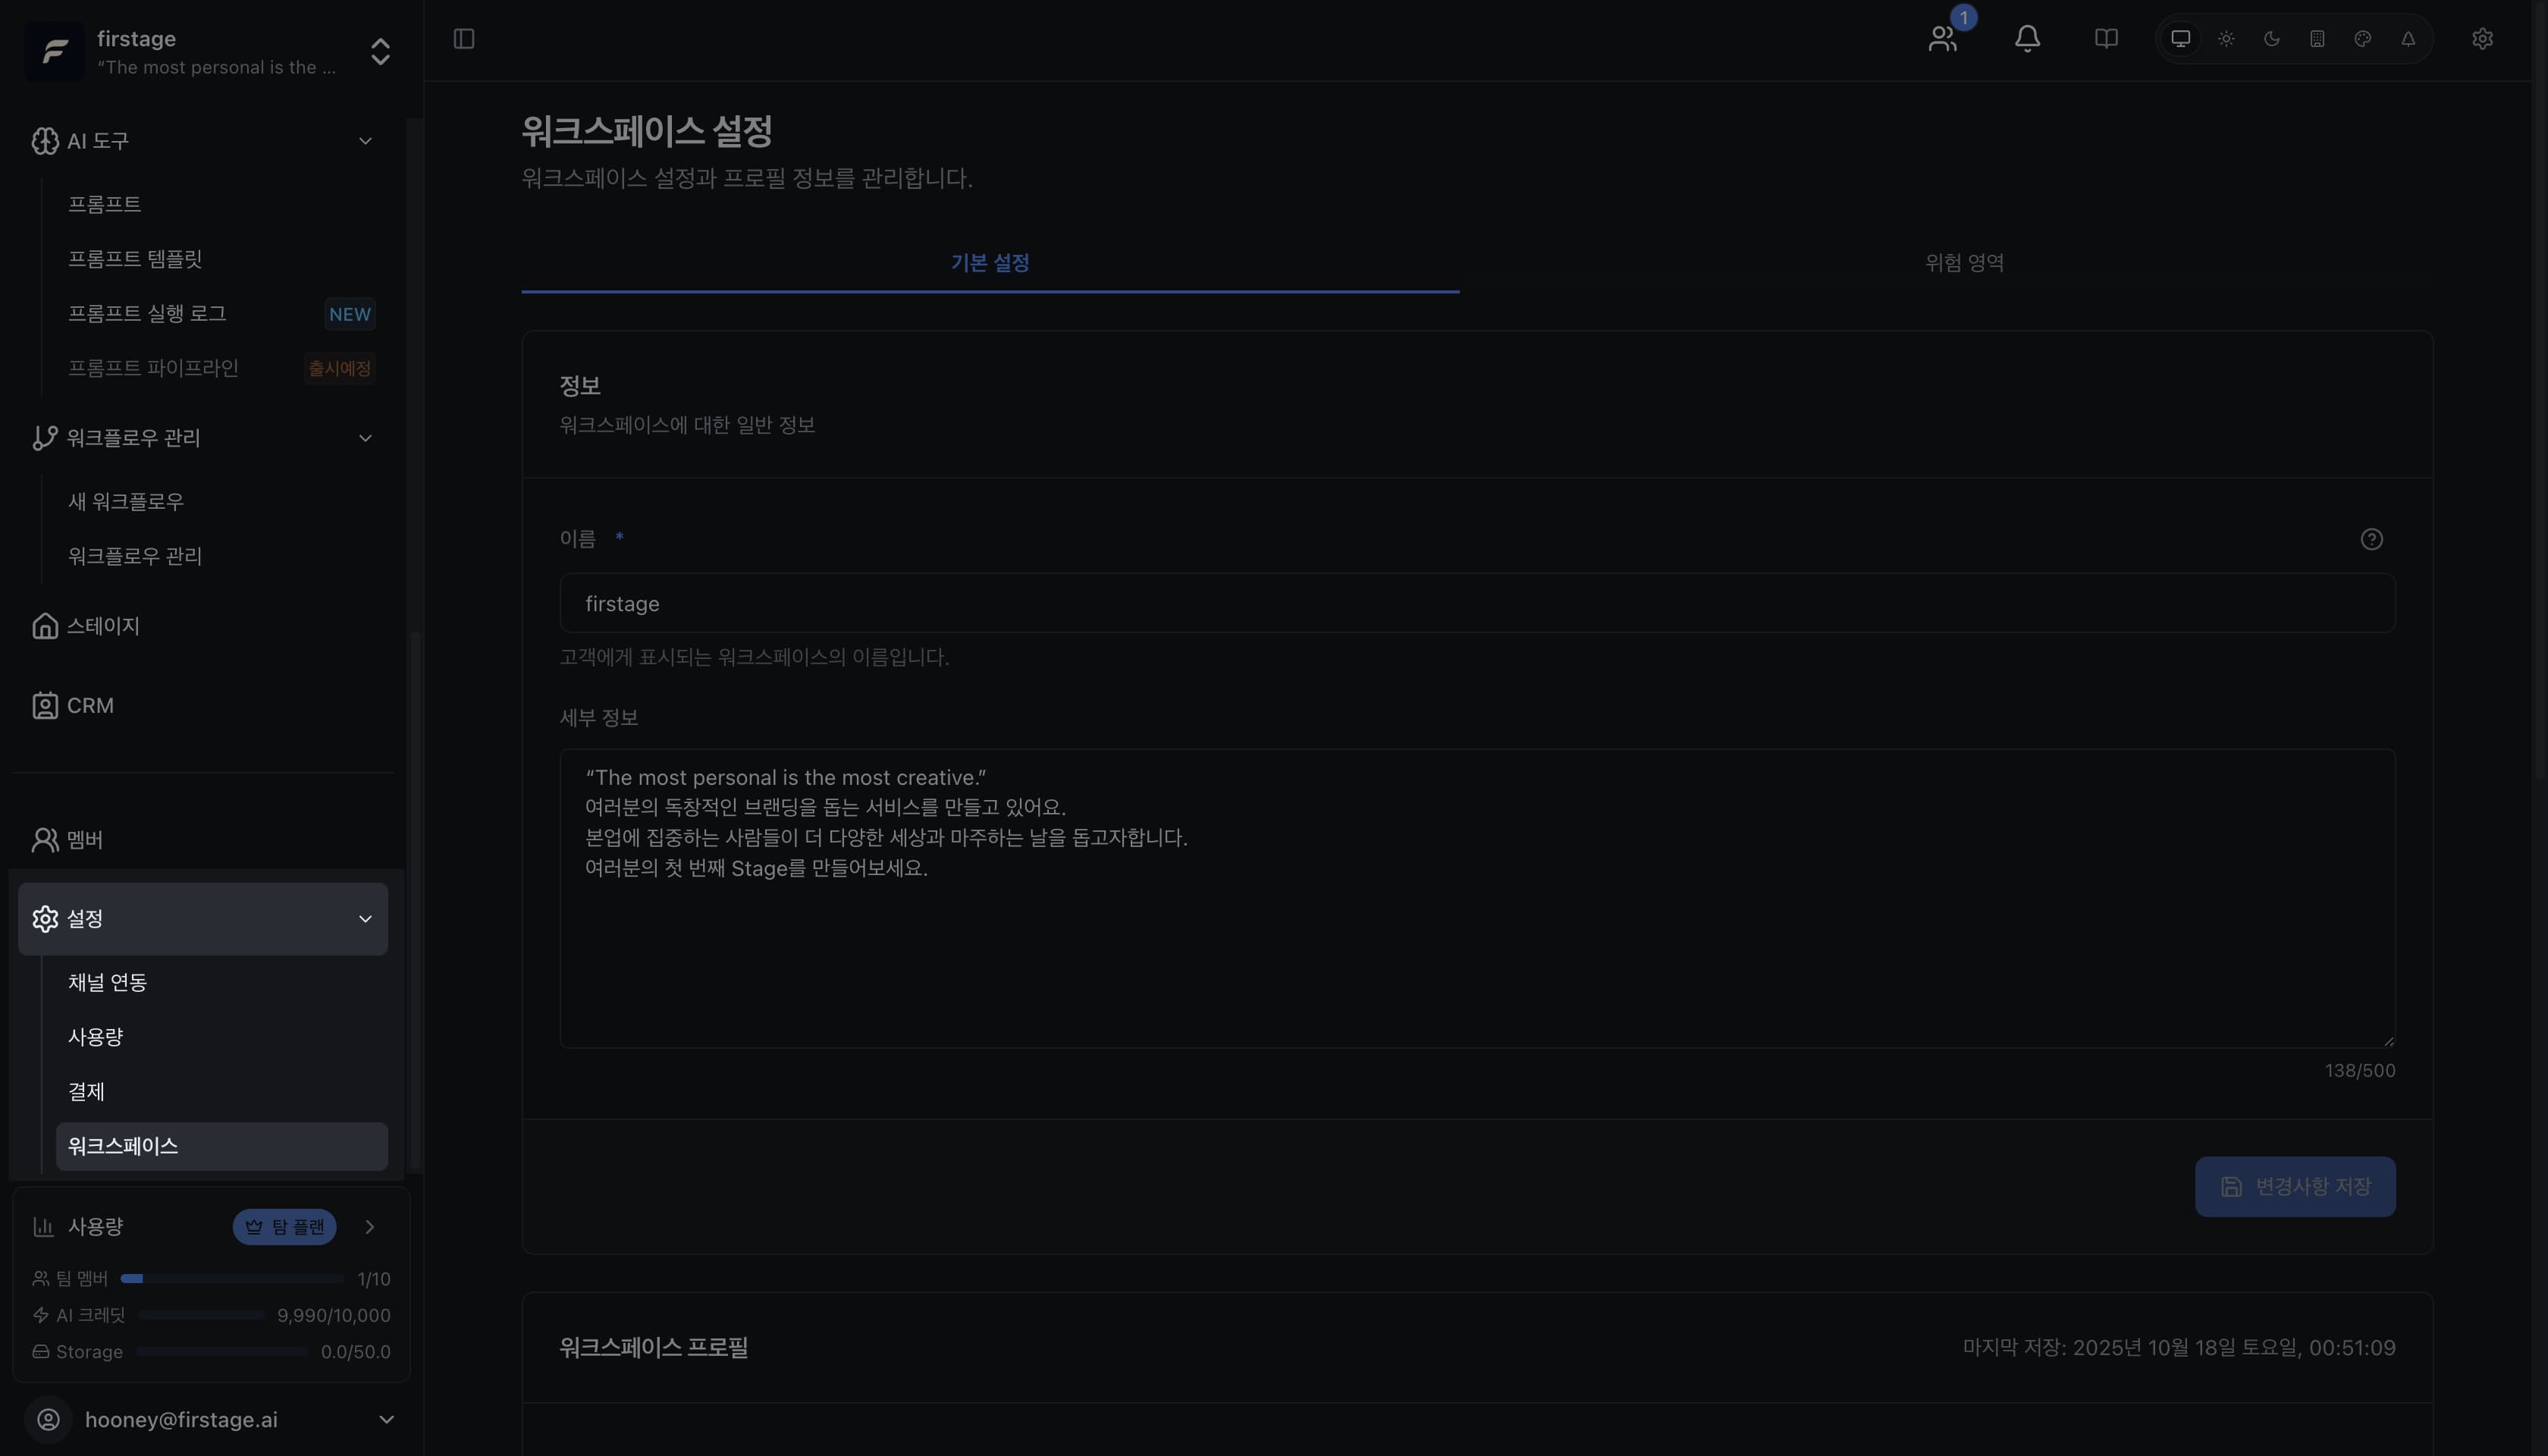
From your workspace dashboard:
- Click the ⚙️ Settings icon in the left sidebar.
- Navigate to the “General” or “Advanced” section.
Step 2: Find the Danger Zone

Scroll to the bottom of the settings page and find the red “Danger Zone” section.
The “Delete Workspace” button is located here.
Step 3: Select Delete Reason
Click the delete button and a dialog will appear. Select the reason for deletion:
- No longer needed
- Migrating to another service
- Testing purposes
- Other
Step 4: Confirm by Typing “DELETE”
In the dialog, enter exactly “DELETE” (uppercase). (lowercase delete will not work)
Once entered, the “Delete Workspace” button will be enabled. Click it and the workspace will be deleted immediately.
This is your final chance. After clicking, recovery is impossible.
After Deletion
What happens?
- The workspace is immediately removed
- Team members lose access
- Scheduled posts are cancelled
- Your personal account remains
Want to cancel the deletion?
If you haven’t deleted yet, close the dialog. If you’ve already deleted, contact [email protected] (recovery may be possible within 7 days).